In this post I’ll walk through the steps to download a free copy of Splunk, apply for a 10GB/day developer license, and set up your own Splunk server for your homelab. Splunk is a great tool to learn because it’s widely used especially in large companies and because it’s fun to dig in to. In the future, I’ll post about getting data into Splunk from a variety of sources including Unifi network equipment, Corelight/Zeek, Salesforce, Microsoft, and more!
In this series of posts I’ll be using a number of tools that I already have set up in my homelab, but if you don’t have these tools already don’t worry! You could easily run Splunk in a virtual machine or directly on your desktop. Here are the tools I’ll be using along with links to installation guides if you’re interested in setting them up yourself:
- TrueNAS - Free Network Storage OS
- Dockge - Free Docer Management WebUI
- Nginx Proxy Manager - Free WebUI for Proxy Management
Step 1: Creating Our Virtual Machine (VM)
I already use TrueNAS to host data for other projects, so we’ll be creating a VM there, but you could create one locally using something like VirtualBox for free. If you’re using TrueNAS you can follow along with these steps, or if you’re going the VirtualBox route you can skip to Step 2: Installing Ubuntu.
- Login to TrueNAS and select Virtualization on the left-hand side, then select Add in the upper right

- Enter the following information under Operating System and then click Next (any options not mentioned here can be left with their default setting):
- Guest Operating System: Linux
- Name: Splunk
- Password: make-a-password
- On the CPU And Memory page adjust the settings listed below and then click Next
- Virtual CPUs: 1
- Cores: 4 (I recommend at least 4 but adjust based on your system)
- Threads: 1
- CPU Mode: Host Model
- Memory Size: 8 GiB (I recommend at least 8 GiB but adjust based on your system)
- On the Disks page create a new disk image that’s at least 100 GiB and then click Next, here are the settings I used:
- Select Disk Type: AHCI
- Zvol Location: nvme1/vms
- Size: 100 GiB
- Your configuration on the Network Interface page may vary from mine, but here are the settings I used. After you’ve filled these out click Next:
- Adapter Type: Intel e82585 (e1000)
- Mac Address: Autogenerated
- Attach NIC: bond10 (this is a bond that I created to combine multiple NICs, you’ll likely just have one NIC option and it will be different from this)
- On the Installation Media page we’ll need to upload an ISO to install our operating system (OS) from. We’ll be using the latest long-term support release of Ubuntu Server which as of this writing is 24.04.2 LTS and can be downloaded here
- Click Upload New Image File and select an appropriate location to save the file on your NAS. Then click Choose File, select the file we downloaded, and click Upload
- If you got an error message that the file is too large, skip this step from now and refer to the ISO Too Large section of this post for workarounds.
- Leave the settings in the GPU section at their defaults and click Next
- Review the Confirm Options section and click Save
- If everything went well you should now see your new VM in the Virtual Machines list

ISO Too Large
If you received an error that the ISO was too large when you tried to upload it this section contains steps for a workaround. If you didn’t get this error feel free to skip to the next section Installing Ubuntu.
If you’re still here that means that the ISO file was too large for you to upload through the web interface so as a workaround we’ll create an SMB share to store the ISO in instead!
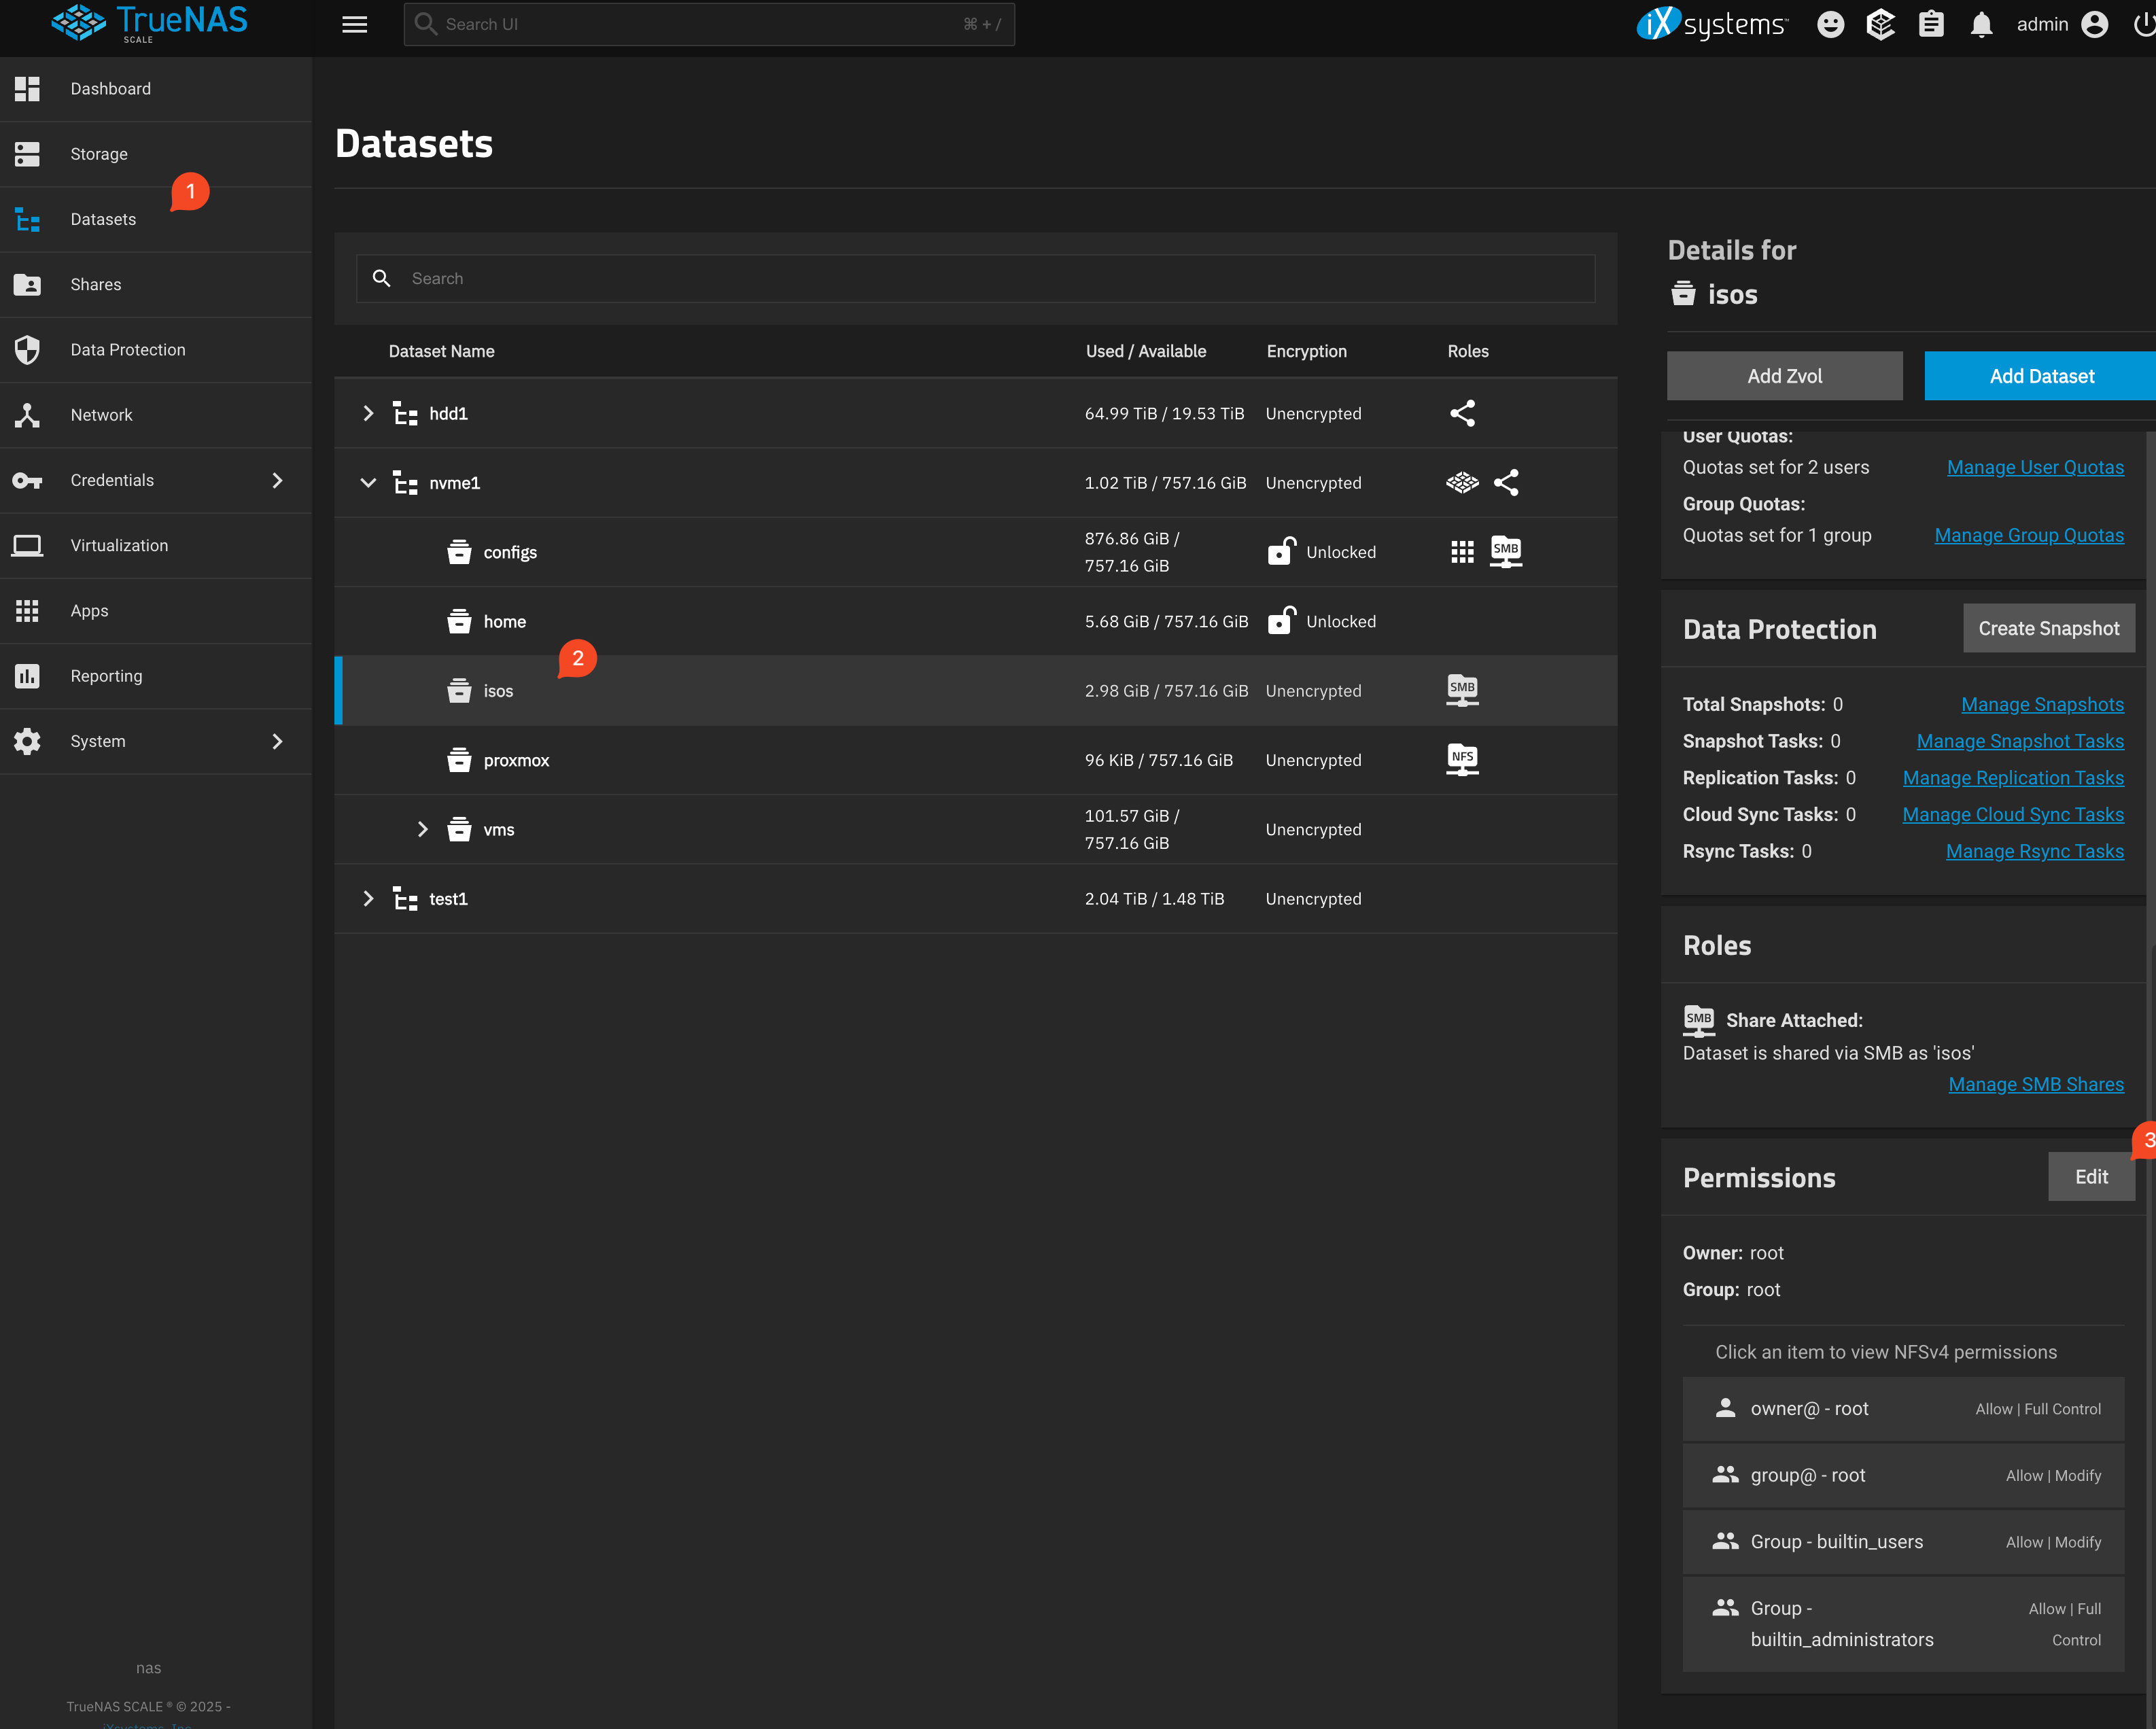
- In TrueNAS, select Datasets on the left-hand side, click on the Zvol you’d like to store your ISOs in, and then click Add Dataset on the right-hand side of the page.

- On the Add Dataset page, enter a name for your dataset like “isos” and select SMB from the Dataset Preset dropdown. Then check off Create SMB Share and click Save

- Your SMB Share should be all set now! If you’re on windows you can open File Explorer and enter
\\nas-address\isosin the address bar to connect. If you’re on a Mac open Finder and press CMD + K, then entersmb://nas-address/isosand click Connect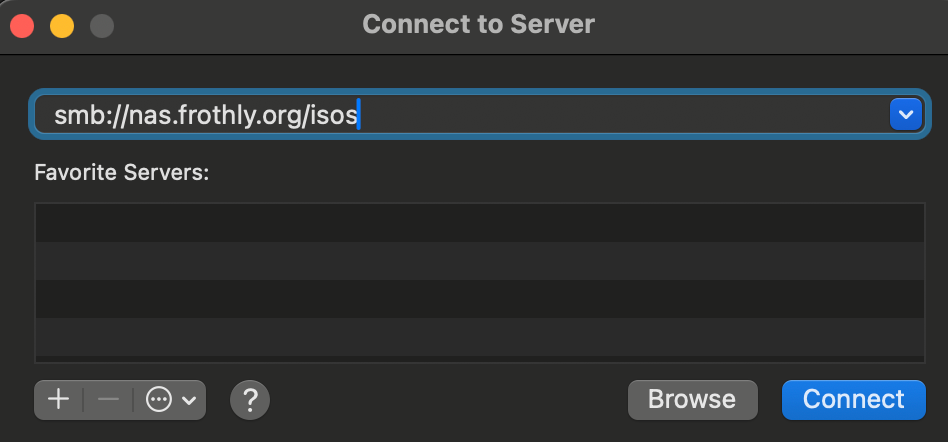
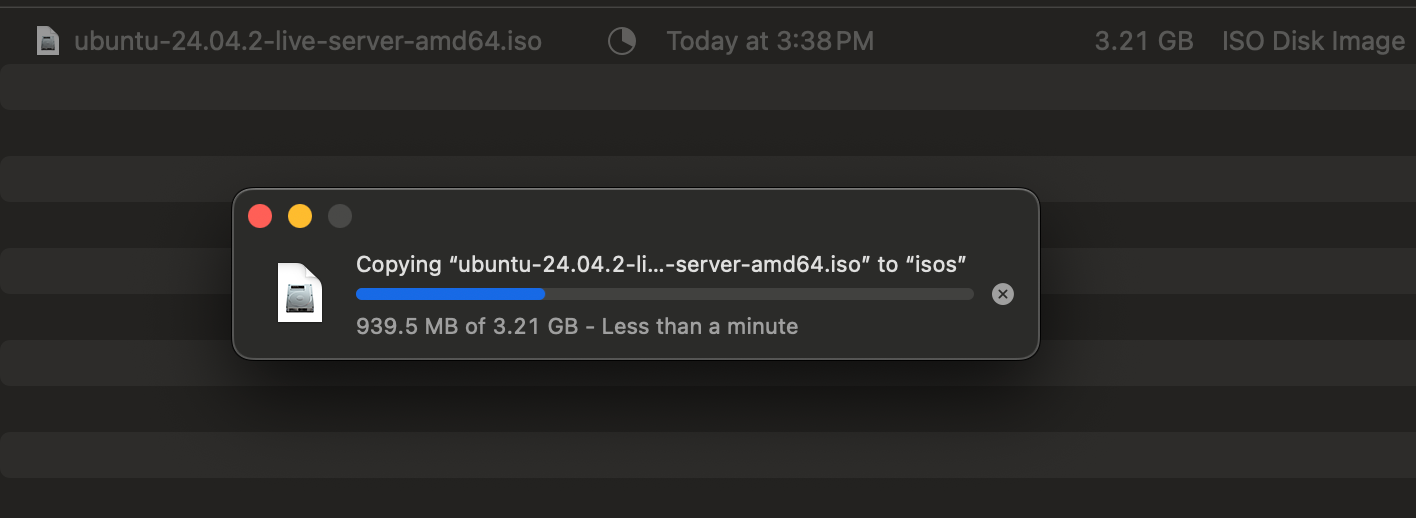
- Once you’re connected you should be able to drag and drop the ISO to your share and watch it upload!
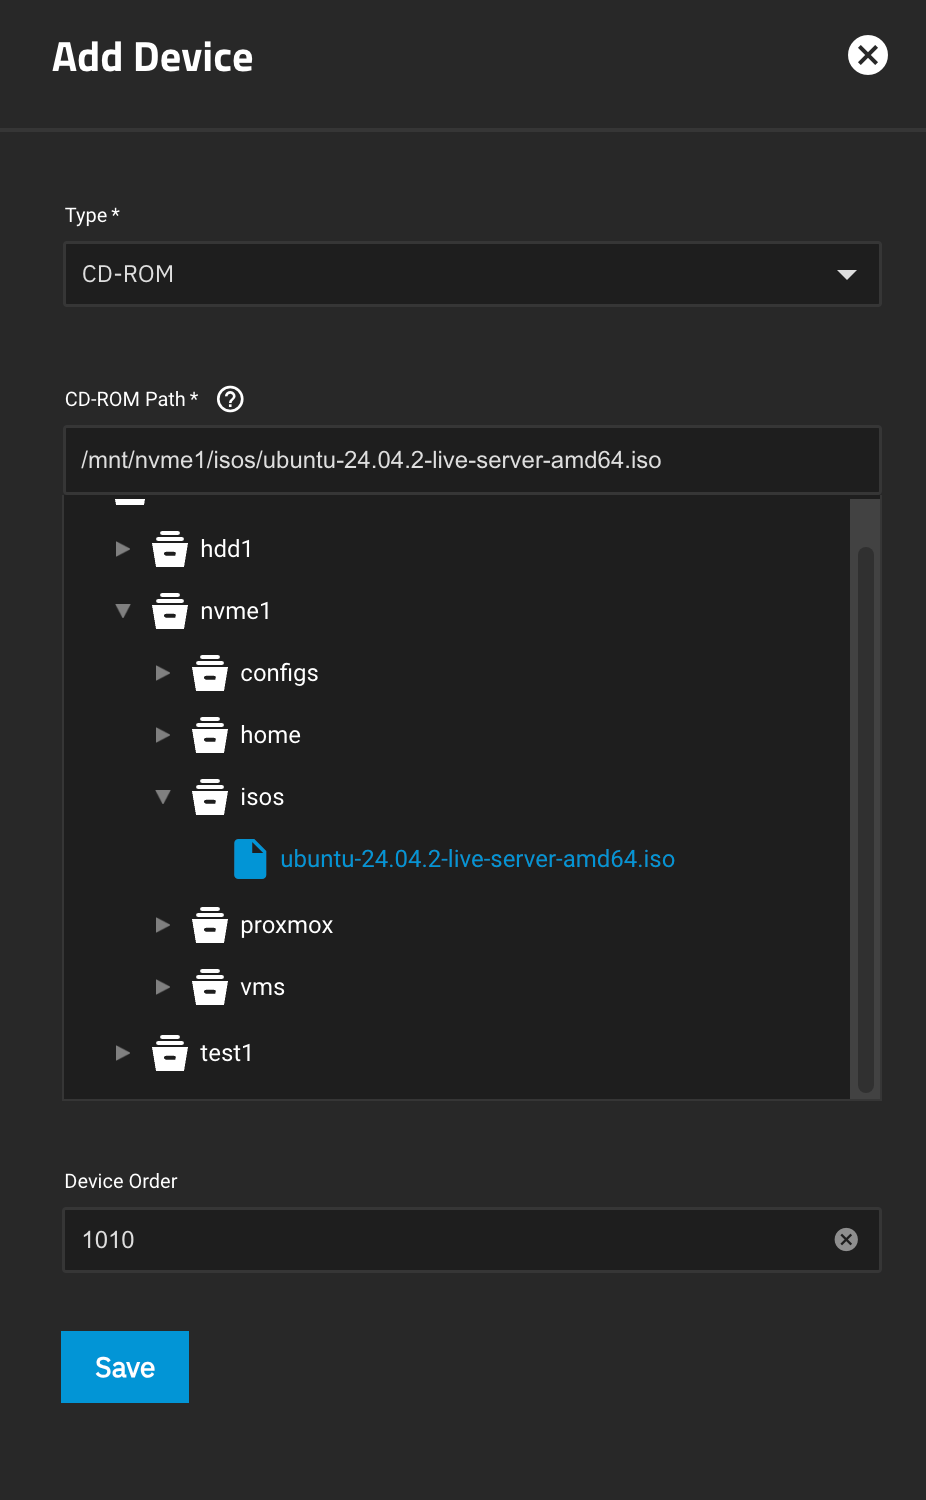
- Finally, now that our ISO is uploaded we need to attach it to our VM. In TrueNAS go to Virtualization on the left-hand side, then click the arrow to the right of the VM and select Devices

- Select Add in the upper right corner, then select the ISO you uploaded, enter a Device Order of 1010, and click Save
- If you get this permission error you can fix it by following these steps:
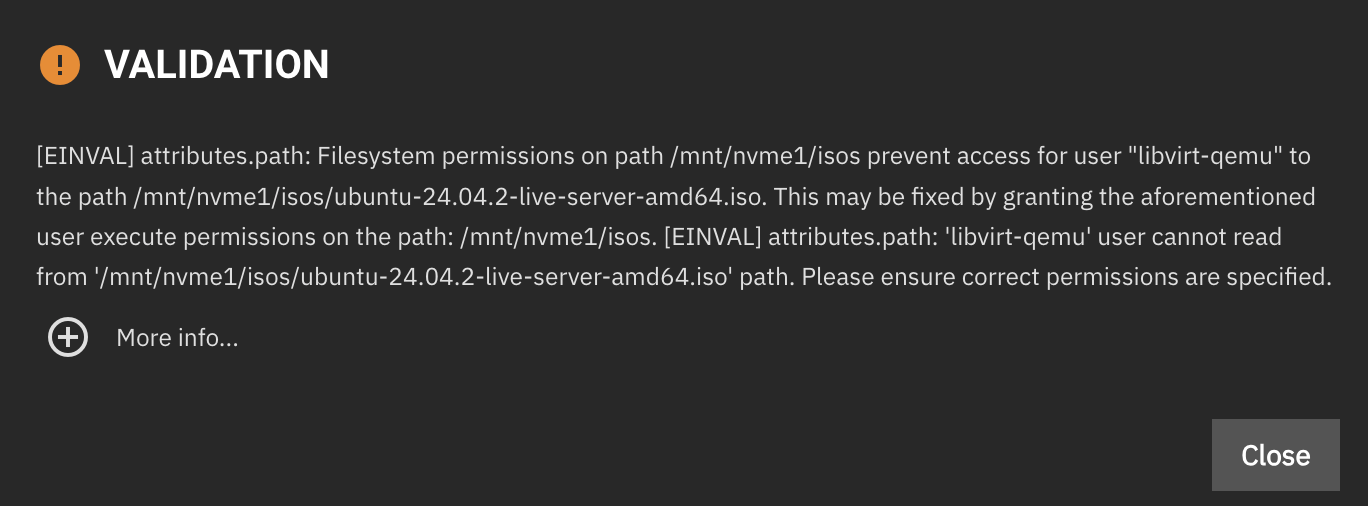
- Click on Datasets, then select your isos data set and scroll down on the right-hand side until you see Permissions. Click Edit next to permissions
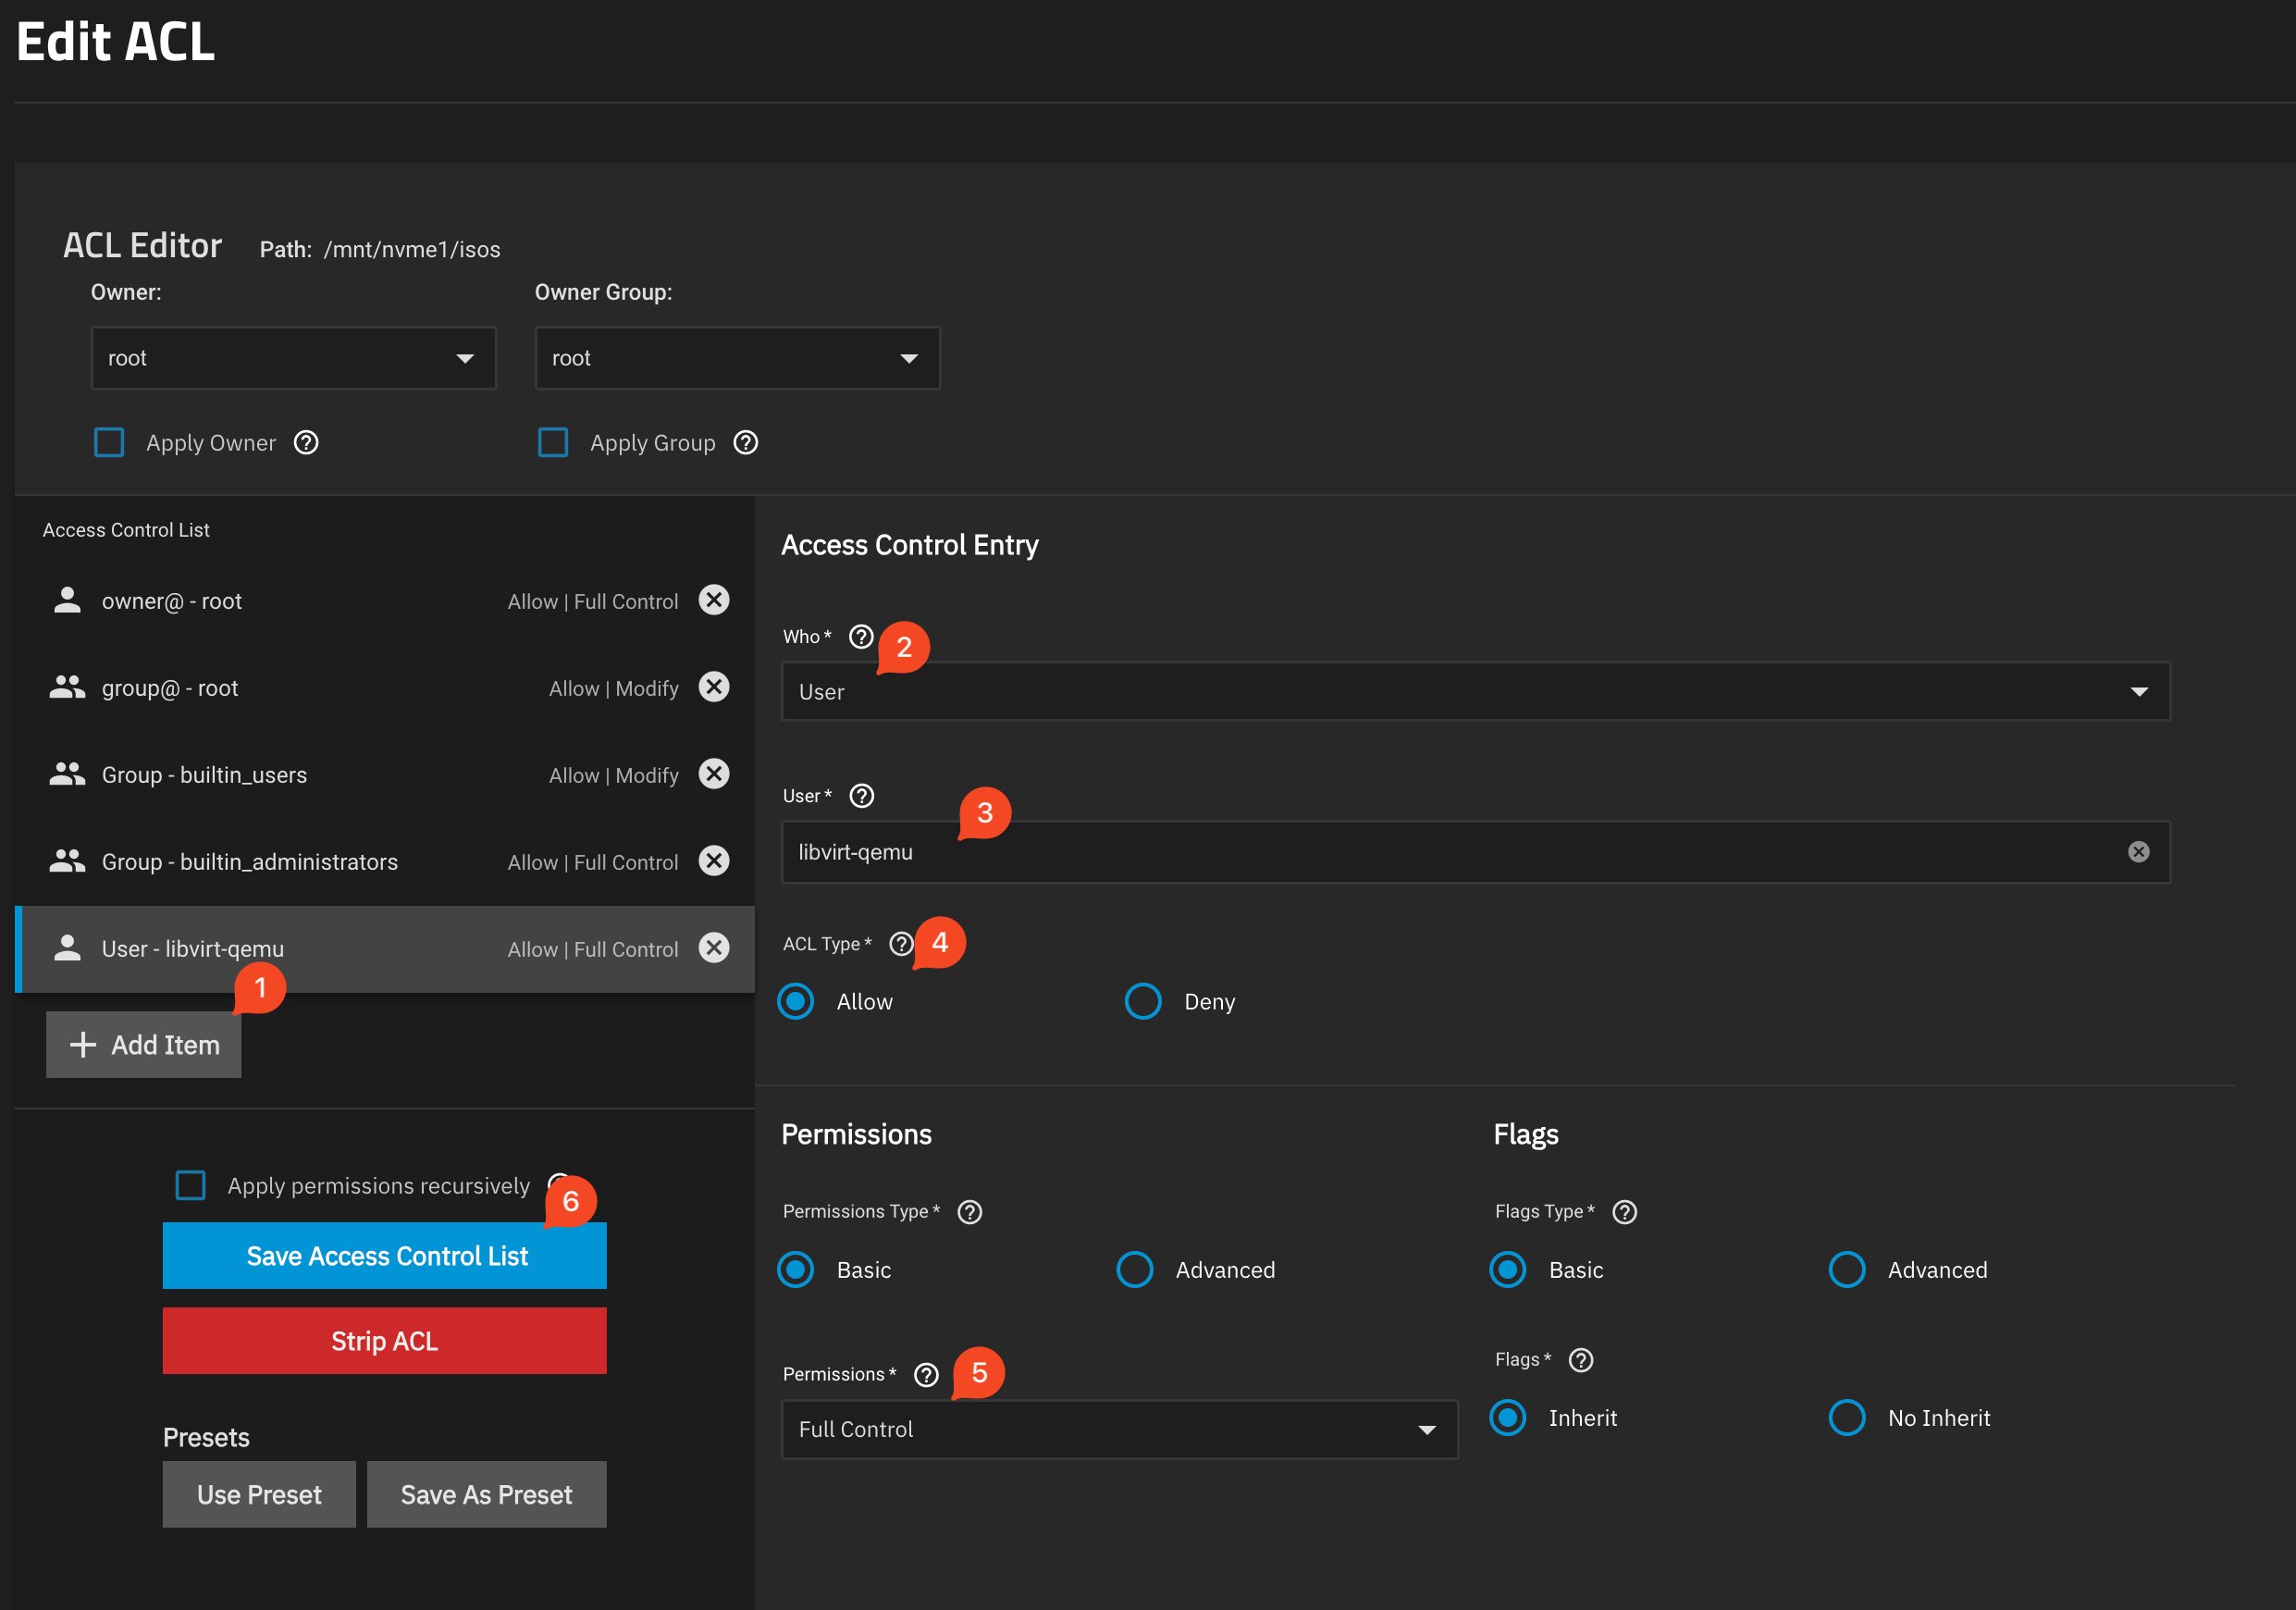
- Click Add Item then fill in the below and click Save Access Control List:
- Who: User
- User: libvert-qemu
- Permissions: Full Control
- Try steps 5 and 6 again to add the ISO to your VM
- Click on Datasets, then select your isos data set and scroll down on the right-hand side until you see Permissions. Click Edit next to permissions
Step 2: Installing Ubuntu
Since we’ll be using Ubuntu Server to host Splunk we’ll need to install Ubuntu on our VM. If you’re using TrueNAS go to the Virtualization section, click the arrow to the right of your VM, click Start, and then click Display. If you’re installing Ubuntu somewhere else you can jump right into the steps below!
- Select your language with the arrow keys and press Enter

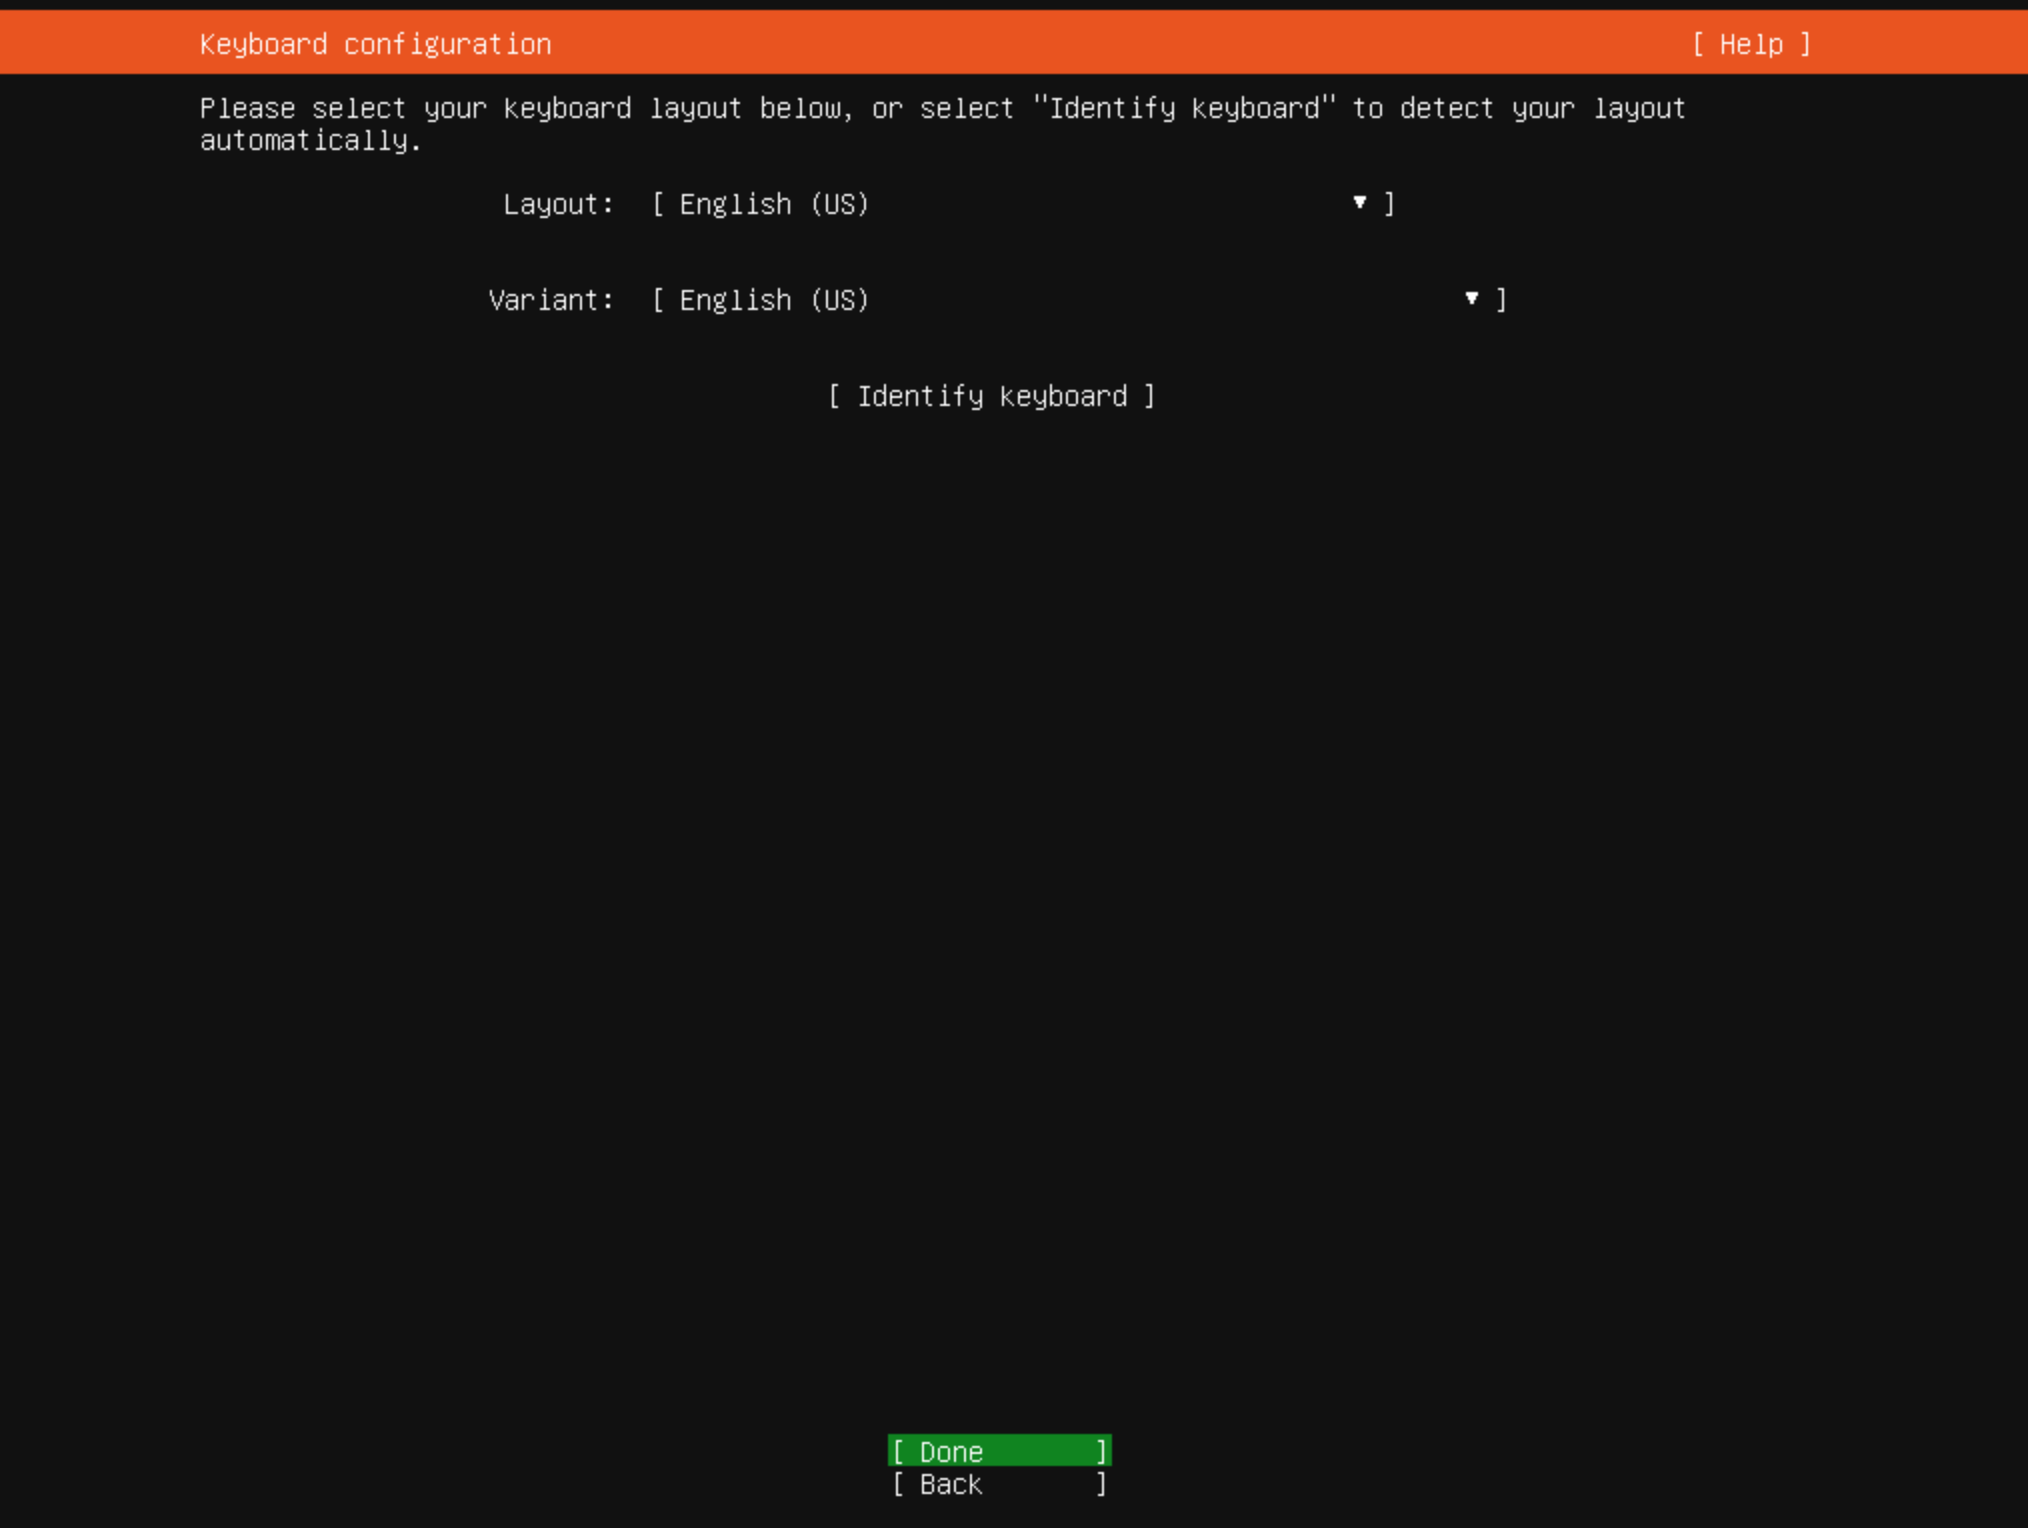
- Select your keyboard configuration, then highlight the Done key and press Enter
- On the type of installation page, leave the defaults and press Enter

- Write down the IP address shown on the network configuration page since we’ll need it later to connect to our server, then press Enter

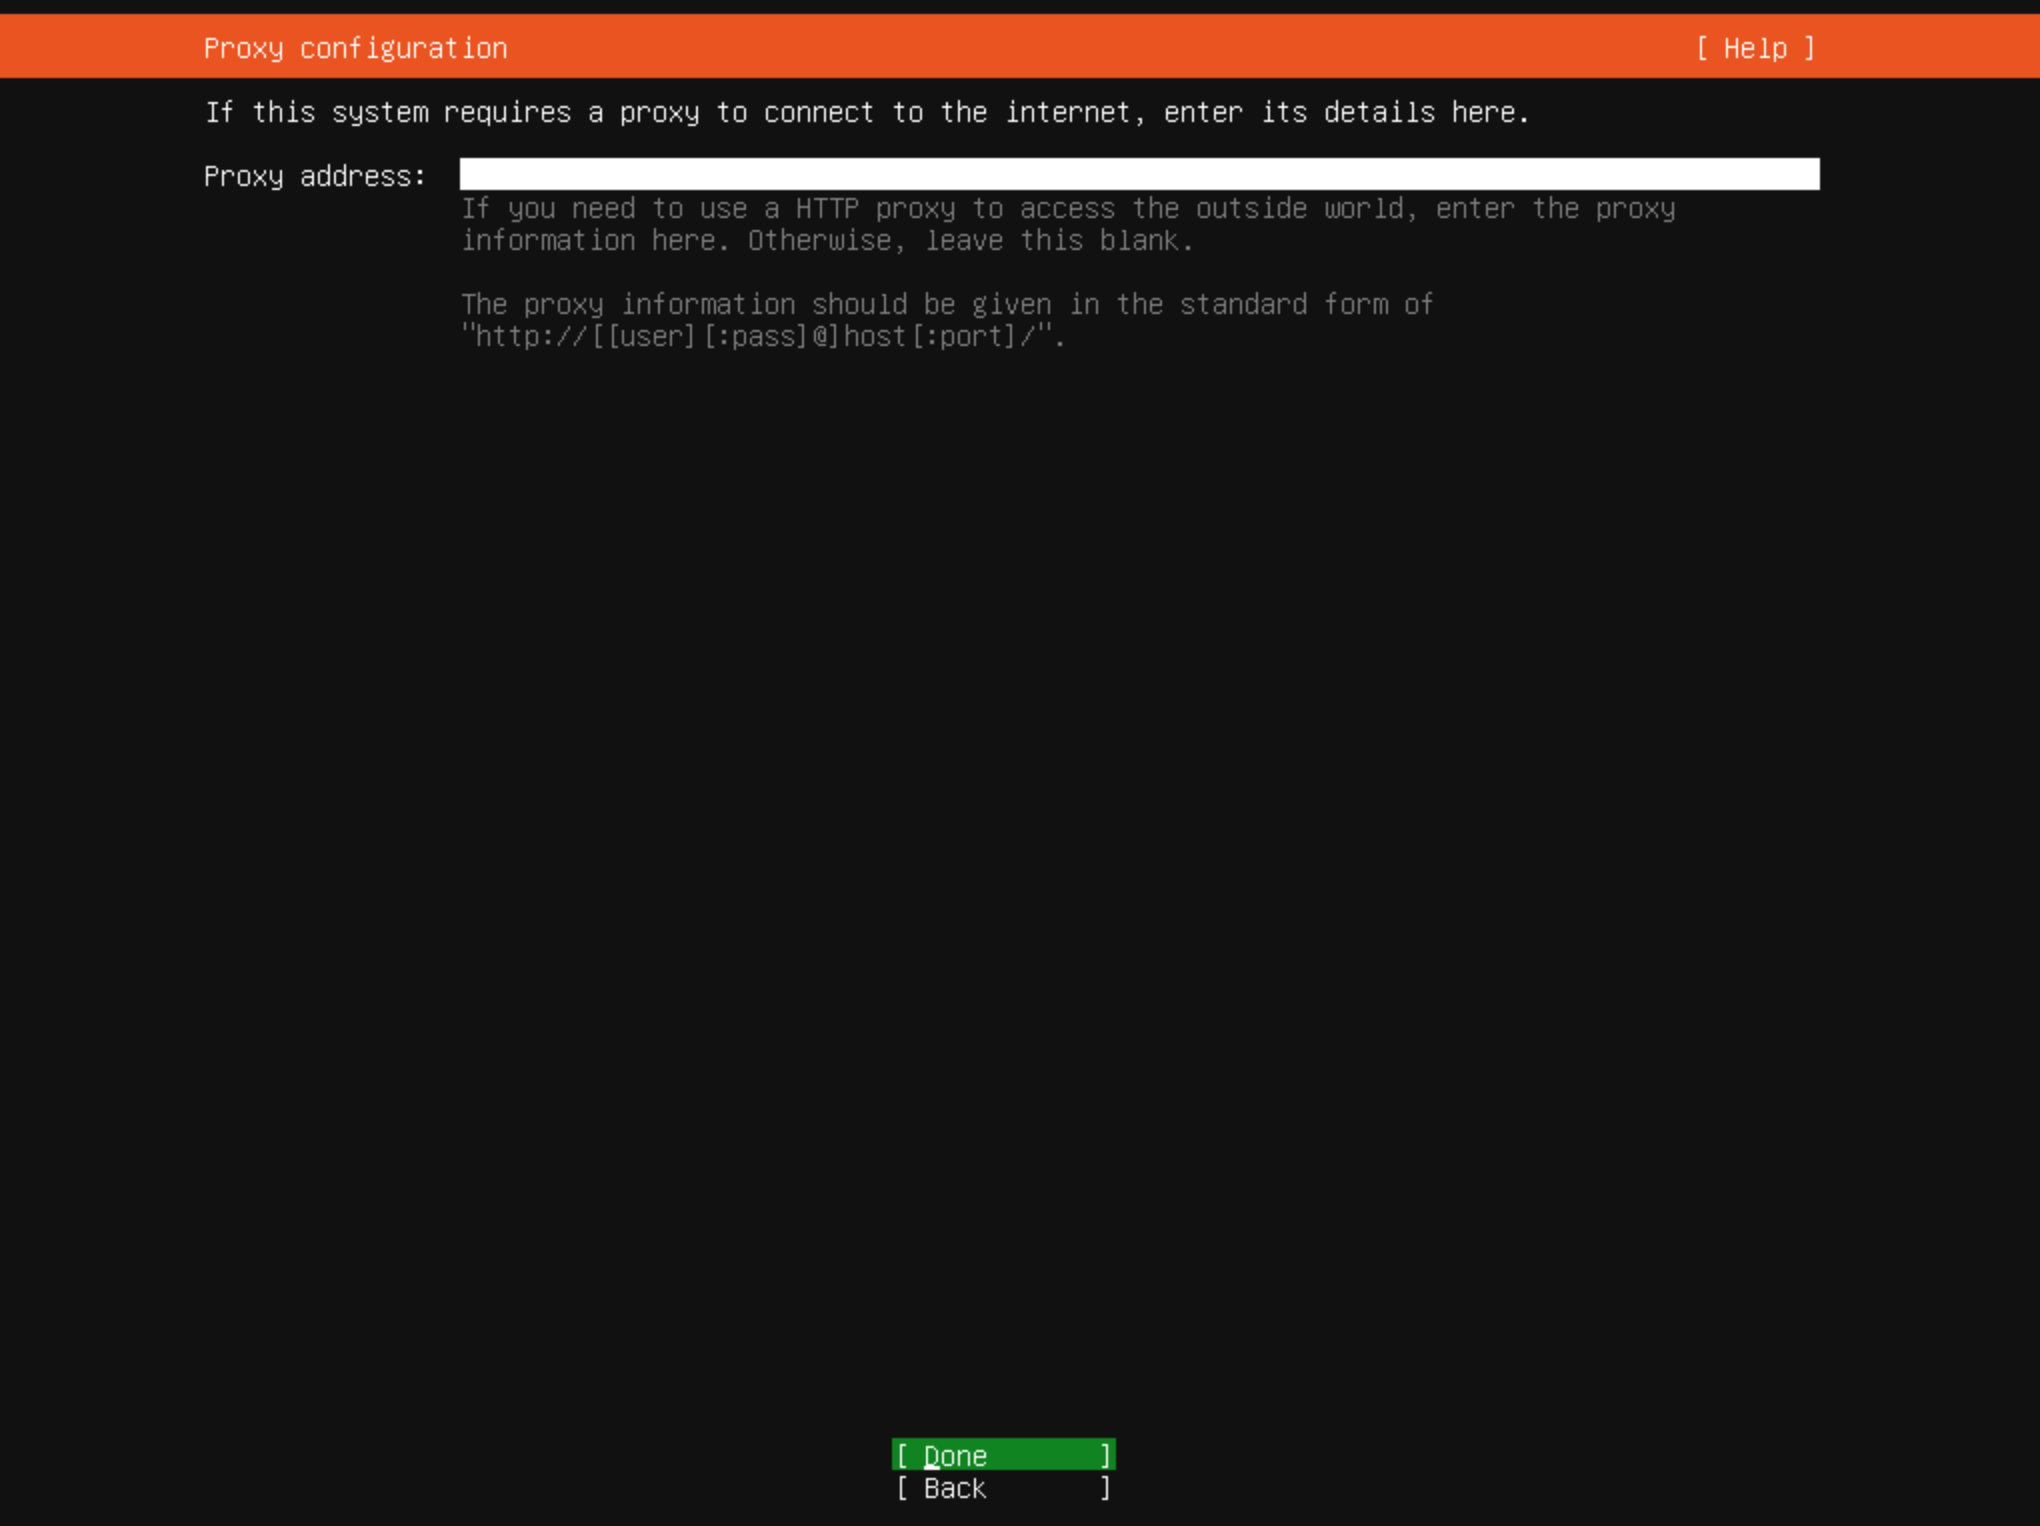
- Leave the proxy address page blank and press Enter
- On the mirror configuration page wait until you see “This mirror location passed tests.” and then press Enter

- Leave the storage configuration settings at their defaults, press the down arrow key to select Done and then press Enter
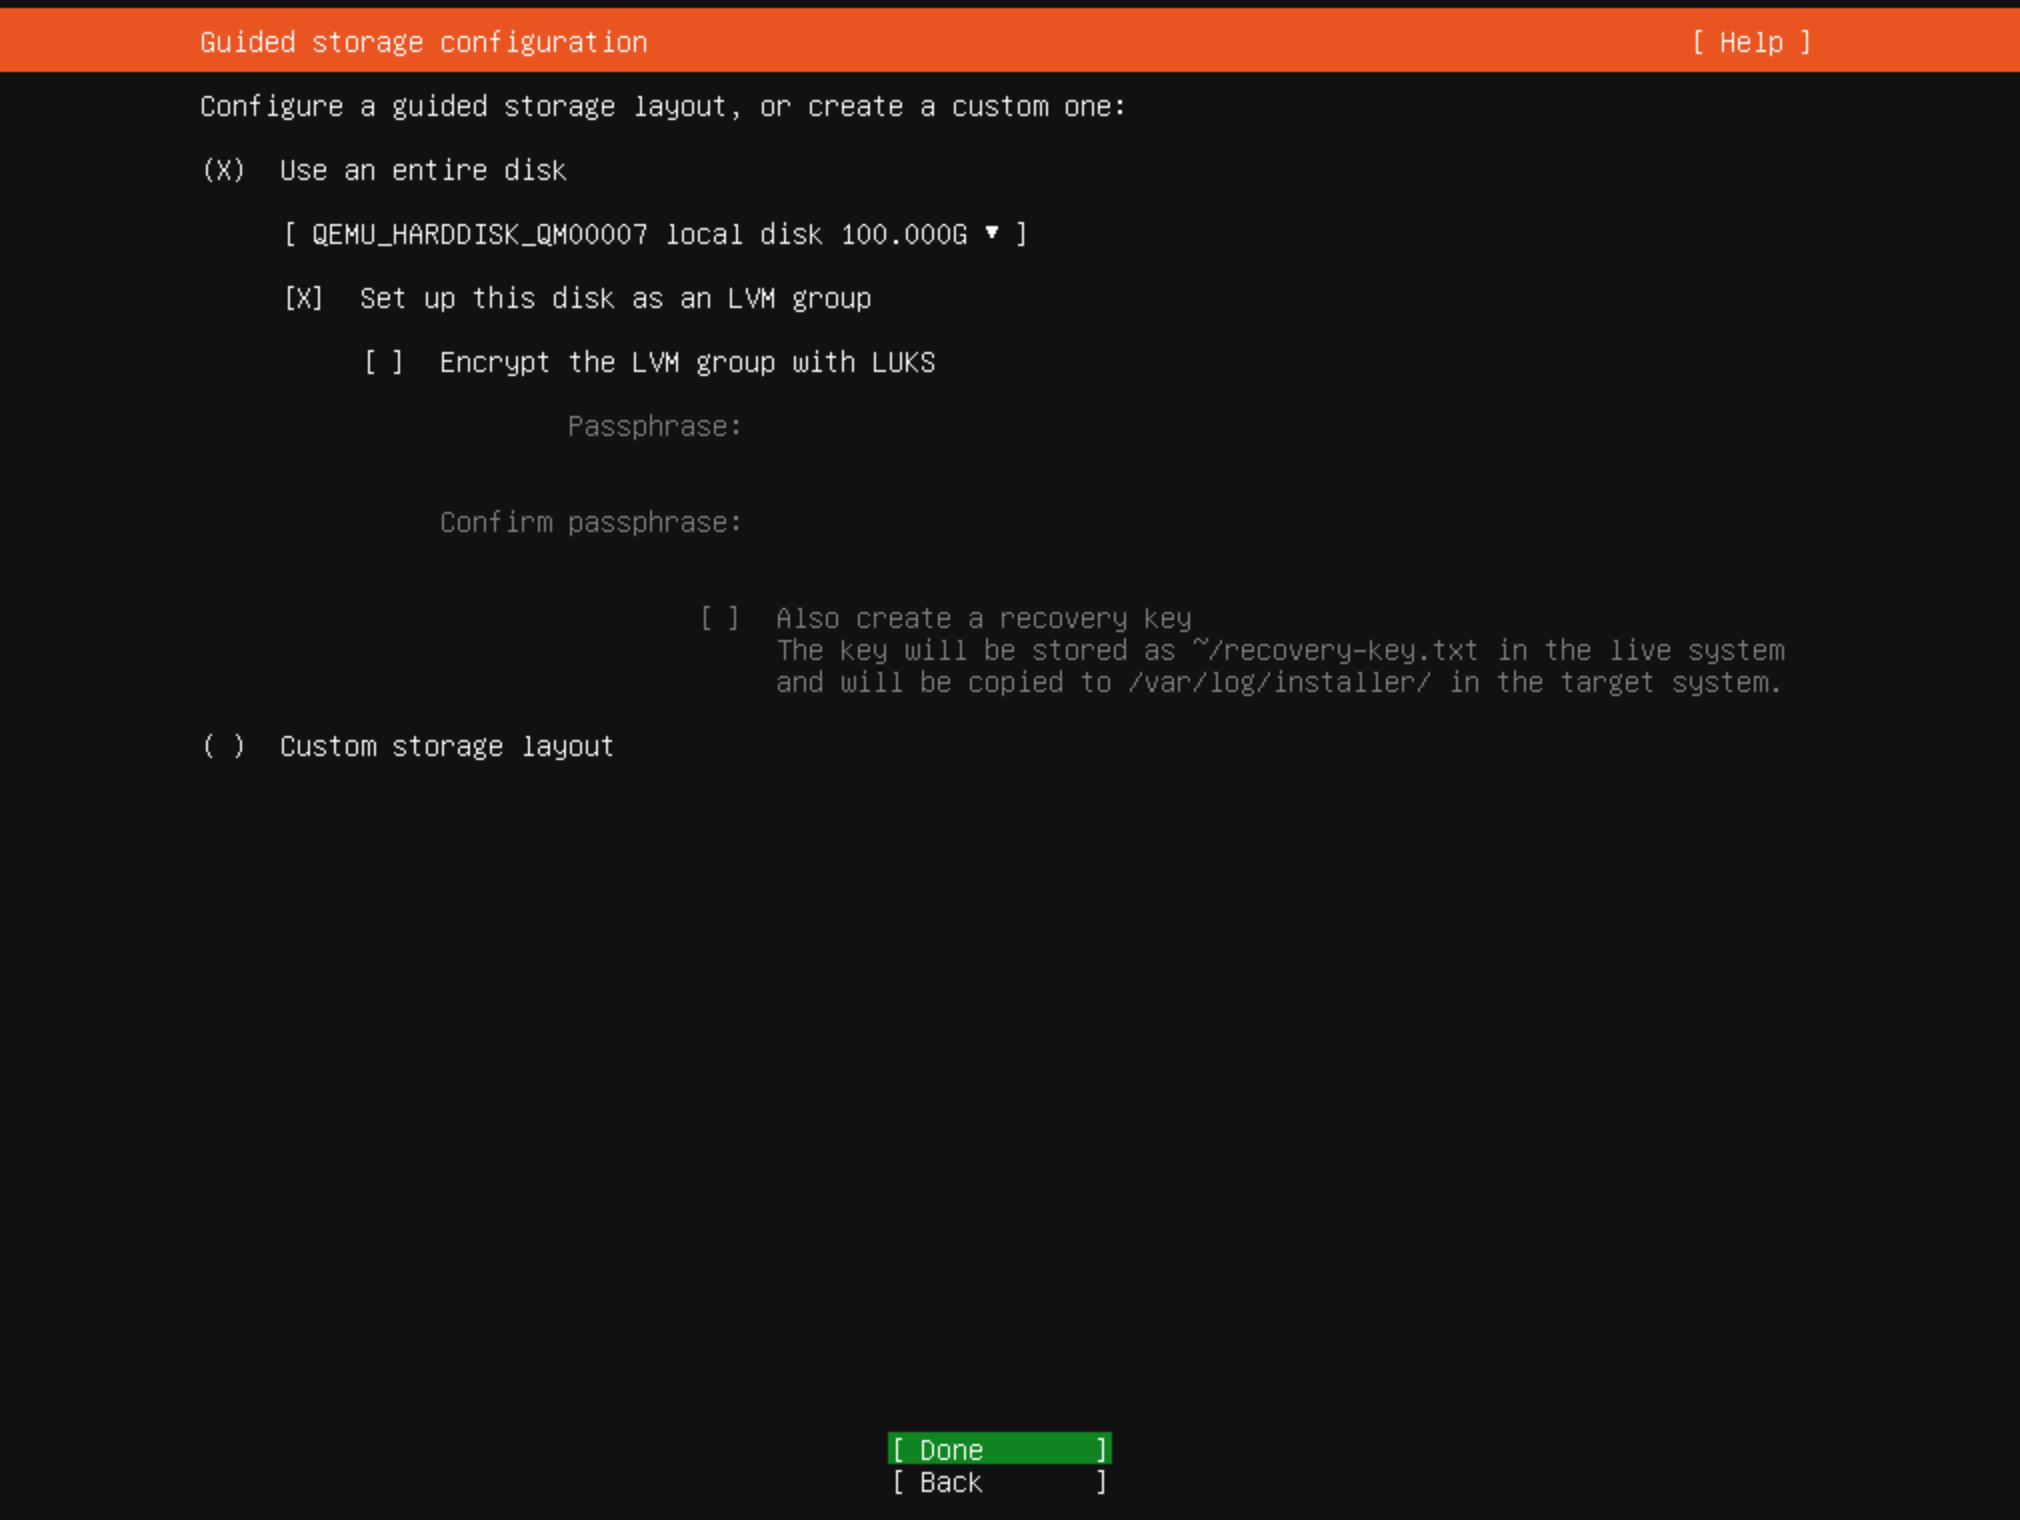
- On the next storage configuration page leave all of the defaults and press Enter
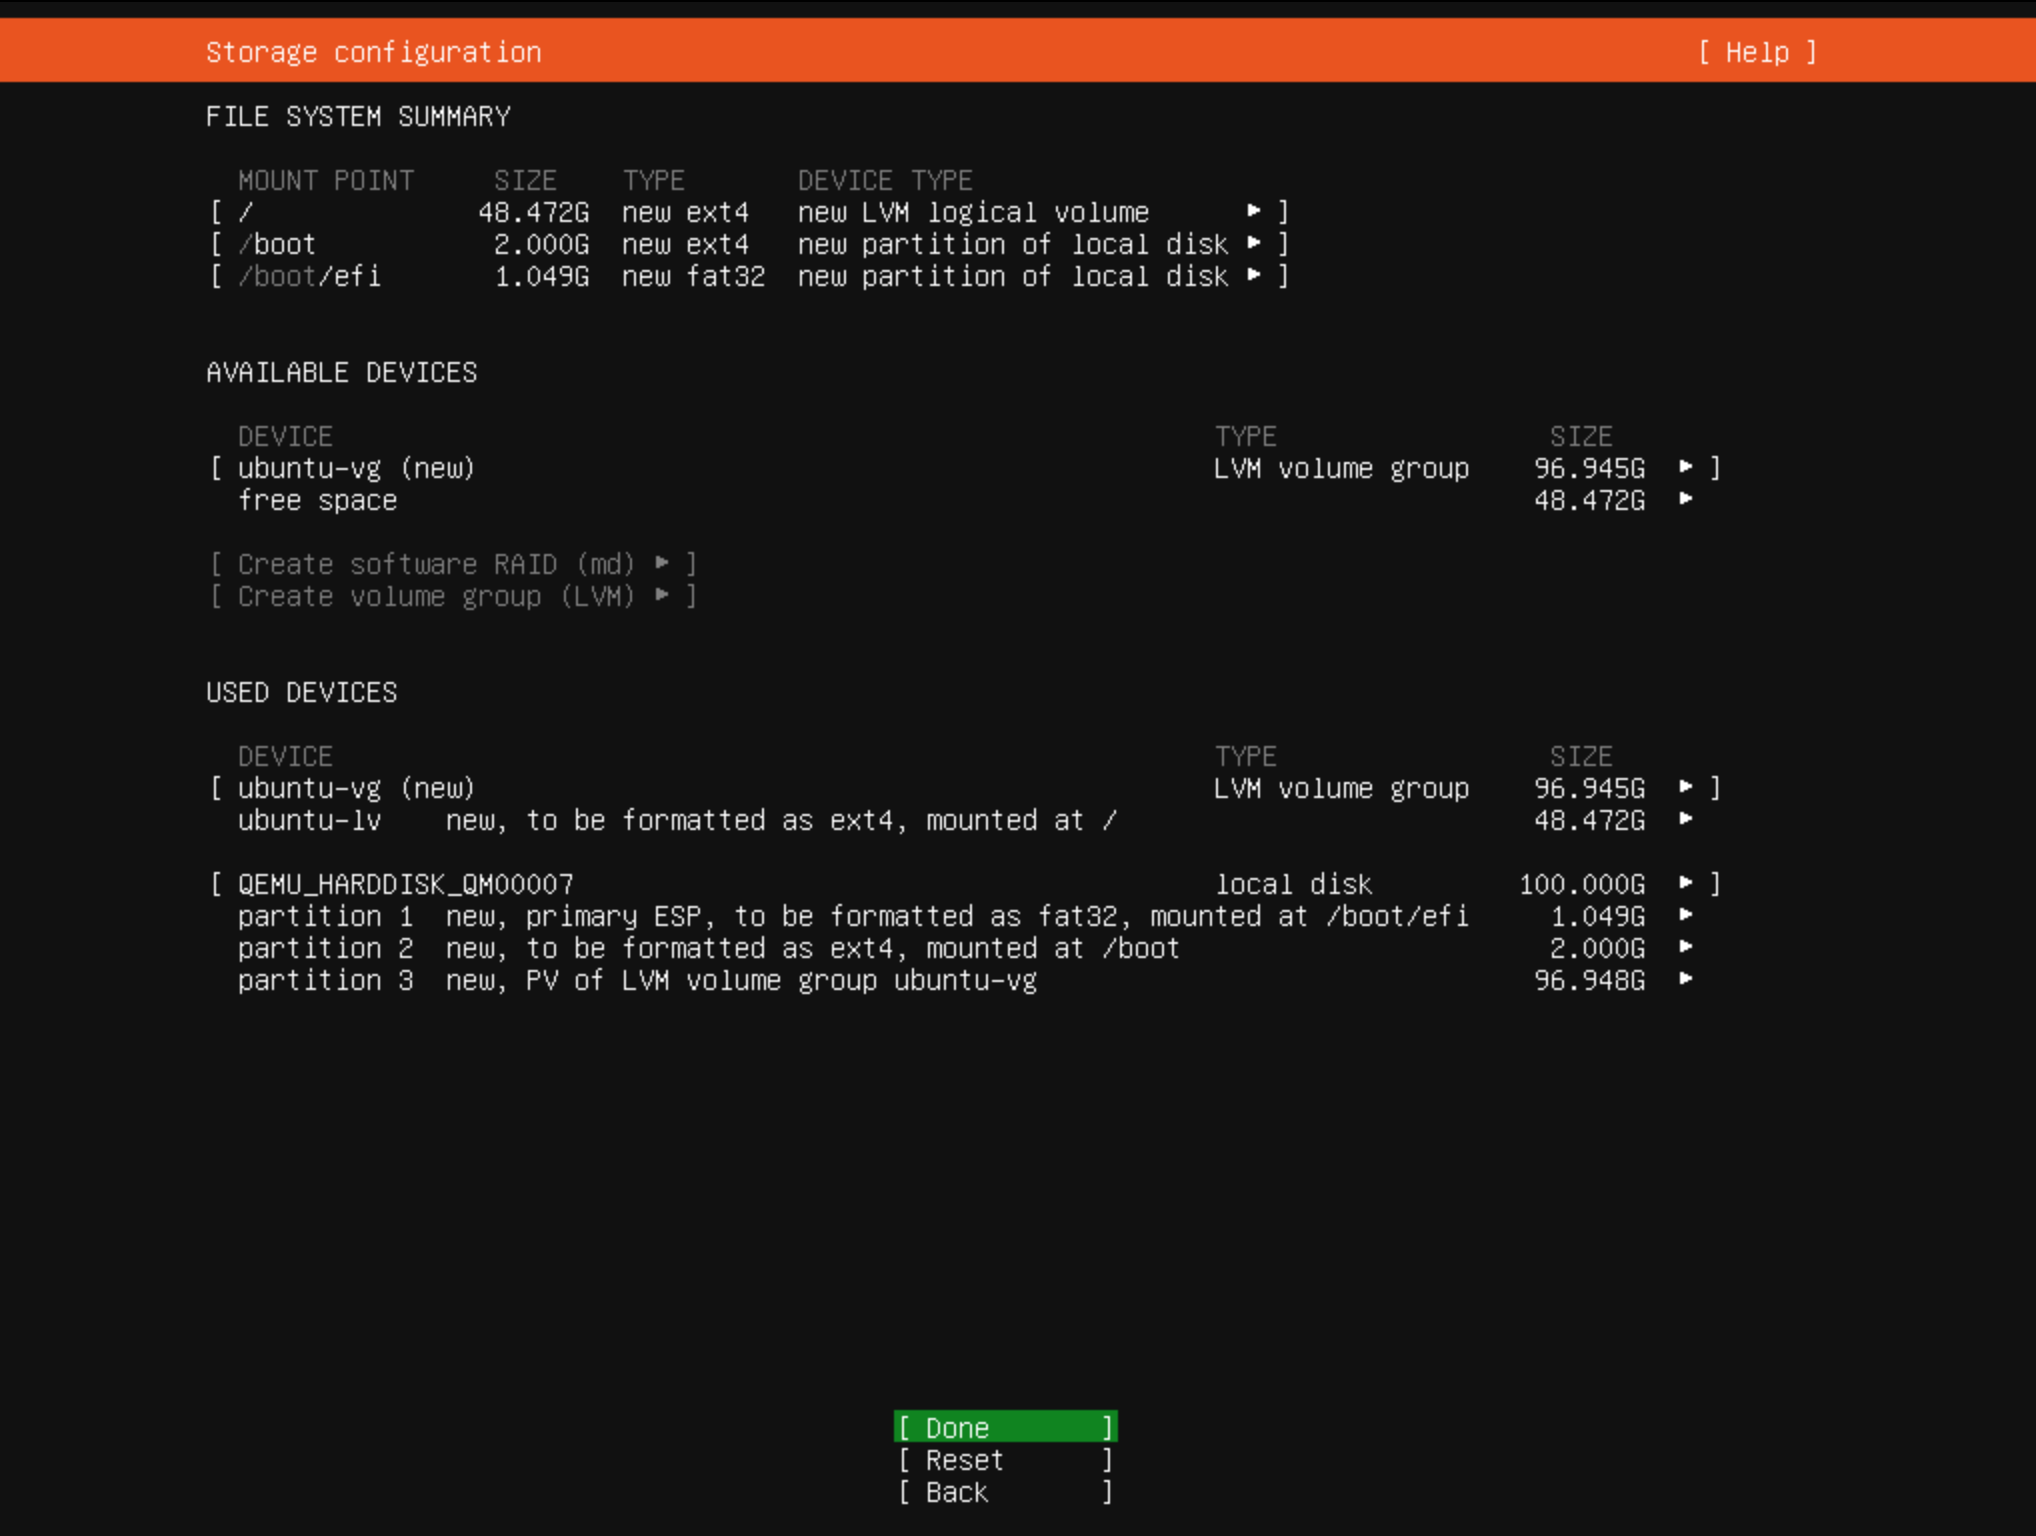
- When prompted to confirm a destructive action highlight Confirm and then press Enter

- On the profile configuration page fill out all of the fields and then select Done and press Enter

- On the Ubuntu Pro page leave “Skip for now” selected and press Enter to continue

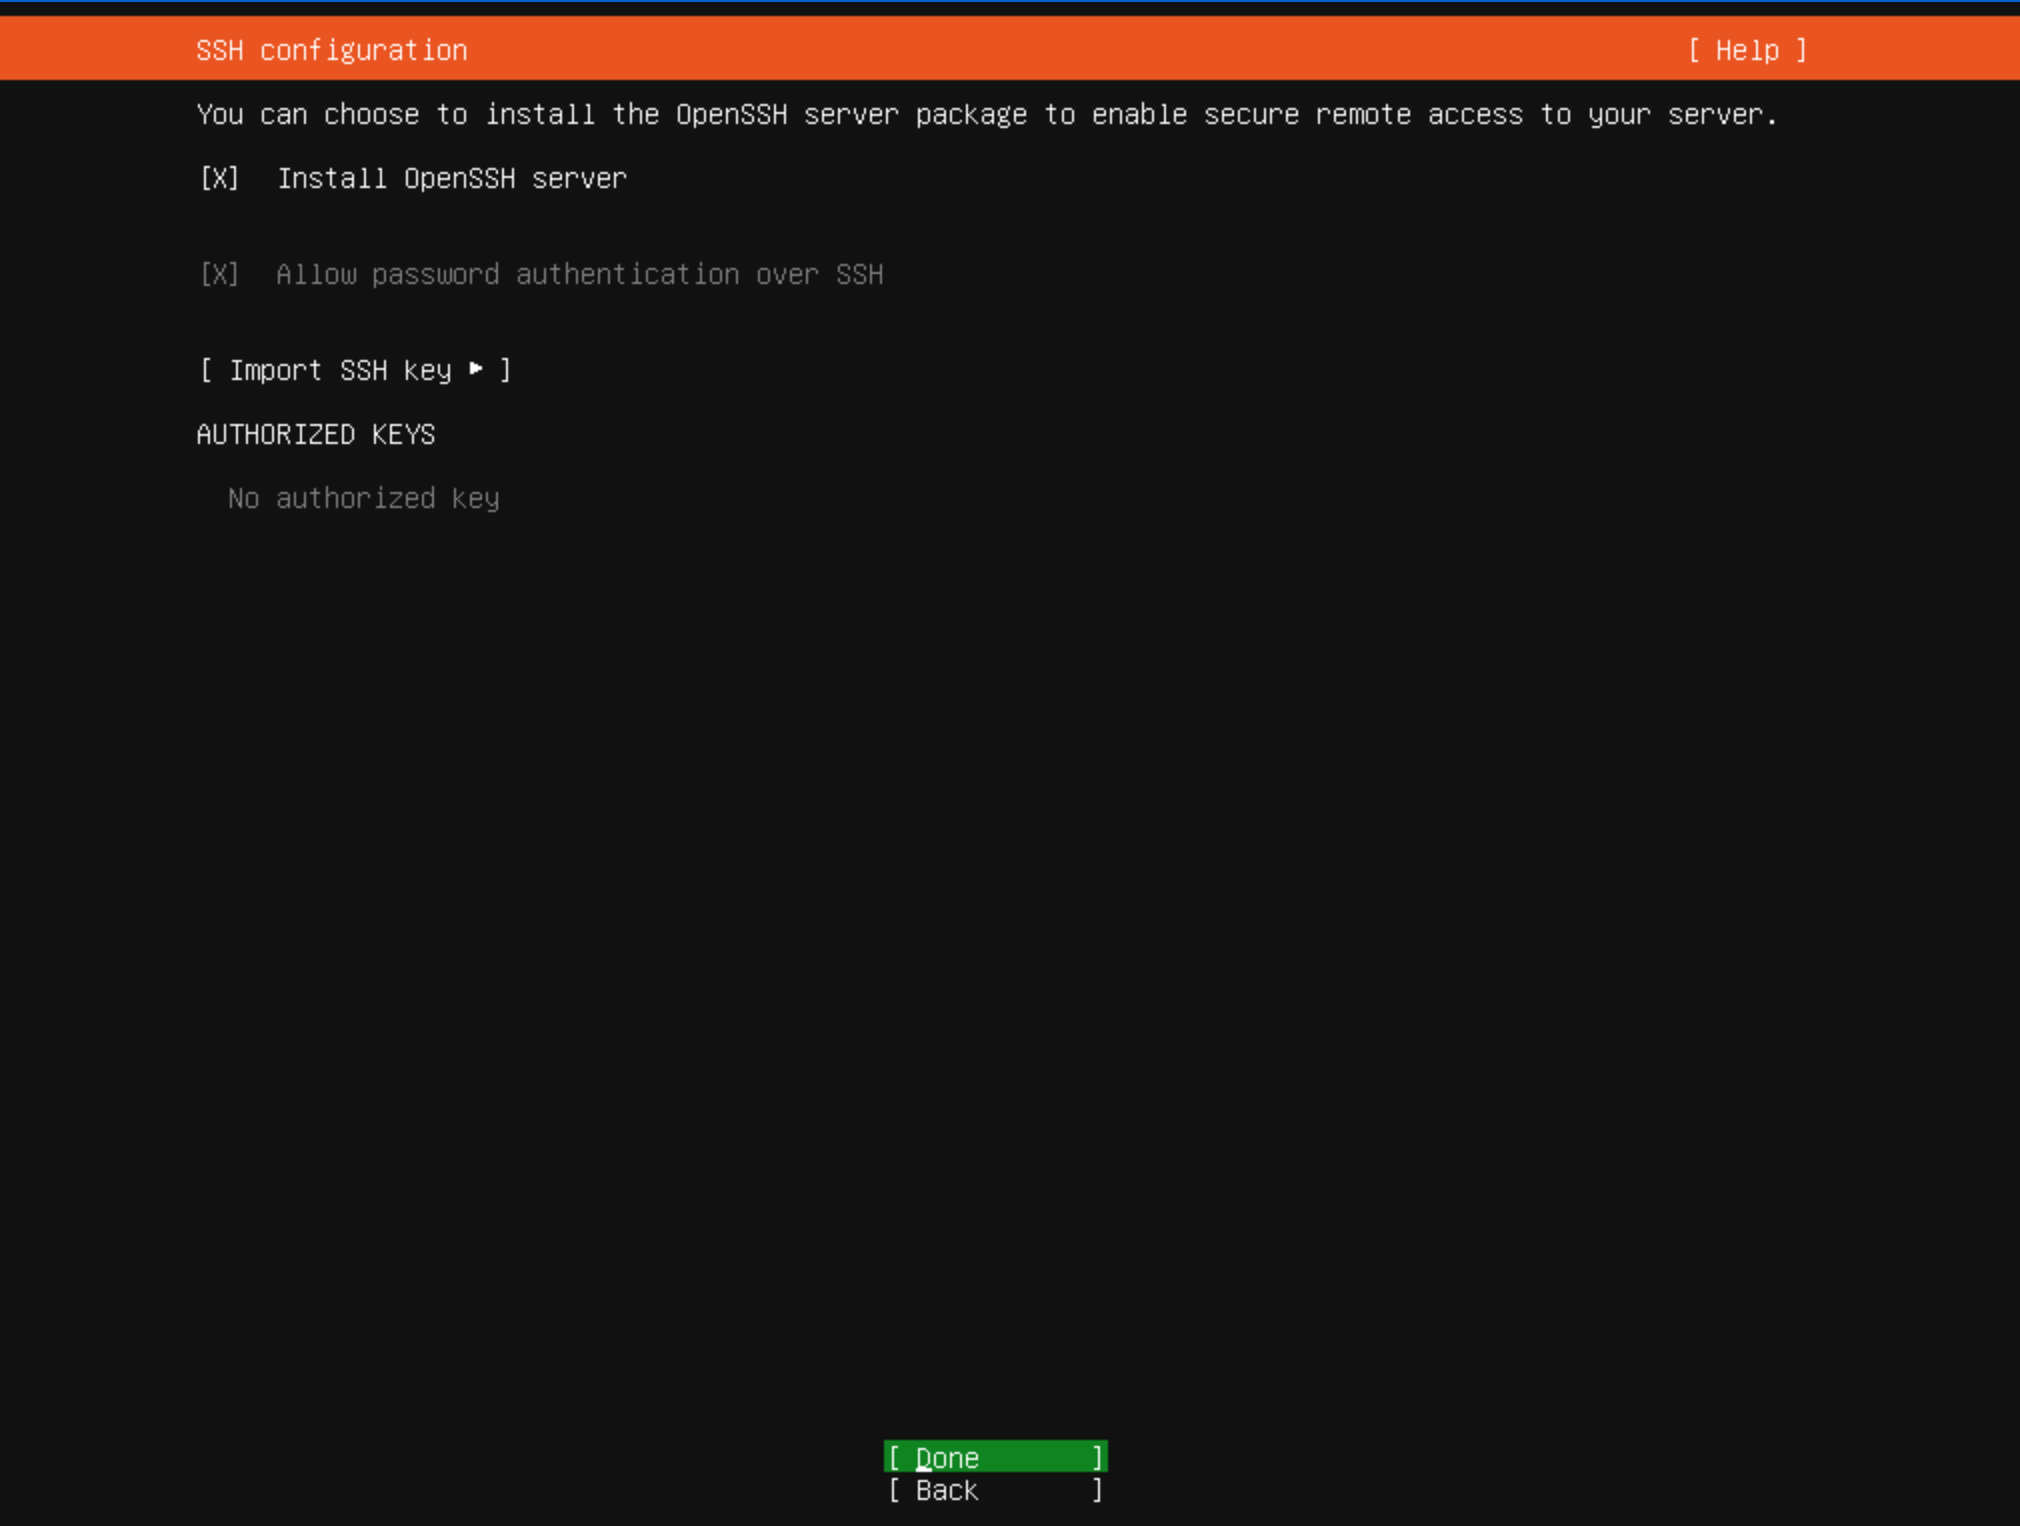
- On the SSH configuration page press Space to check off “Install OpenSSH server” and then highlight Done and press Enter
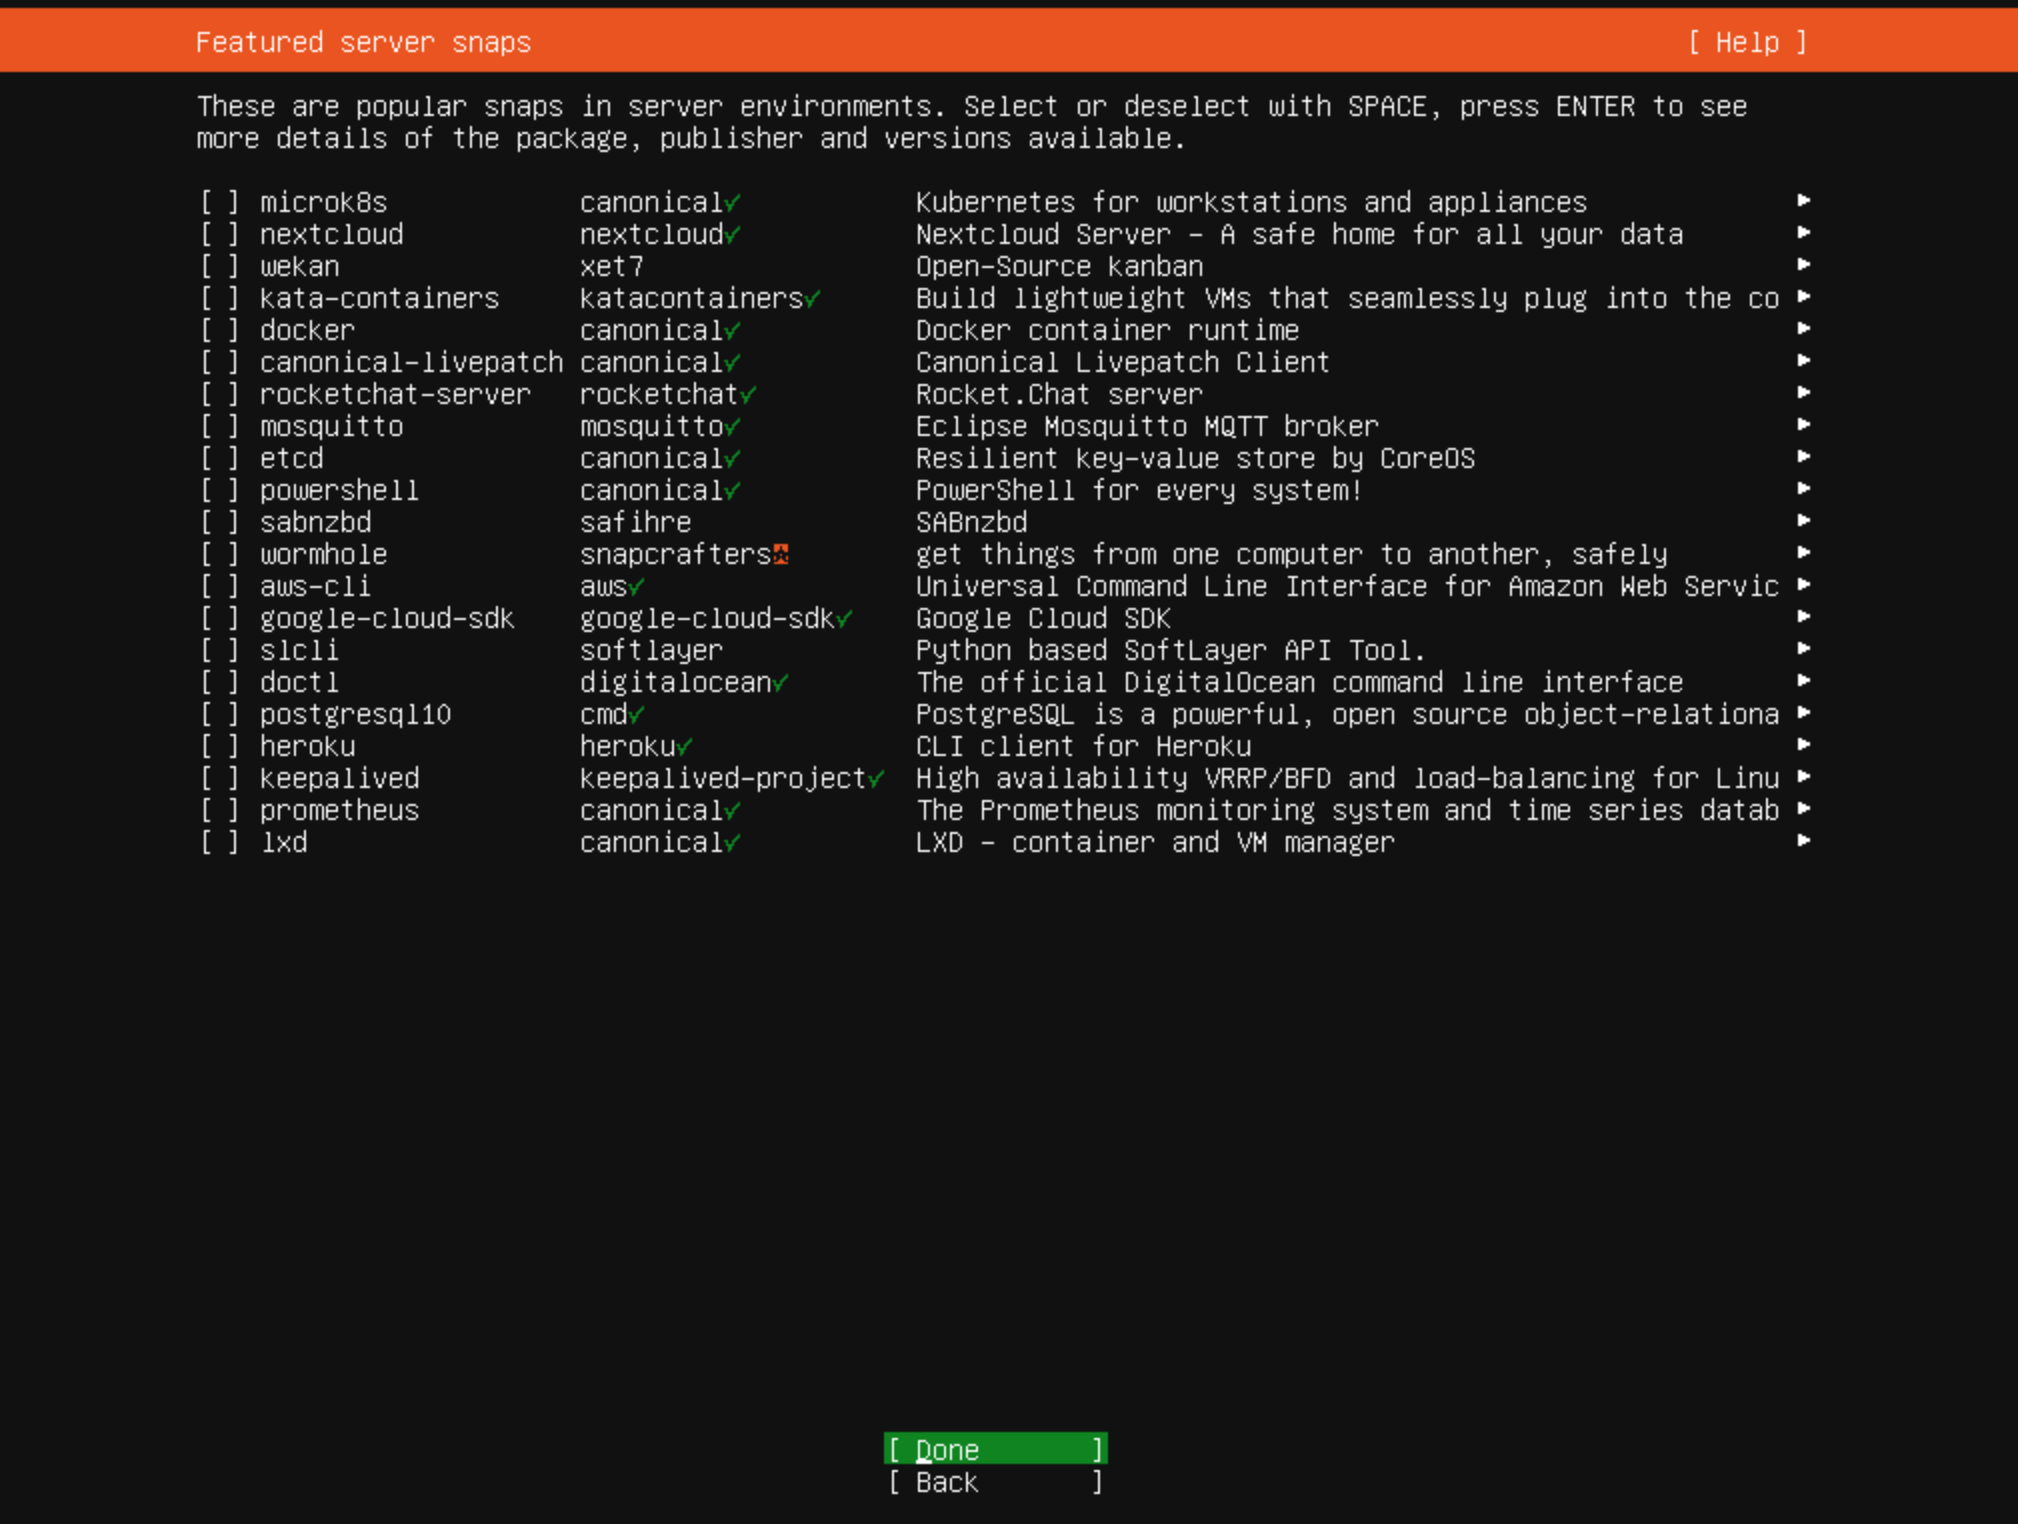
- We don’t need any of the featured snaps so select Done and press Enter
- The installer will now proceed to install the system and any applicable updates based on our selections. Once the installation is complete you’ll see a Reboot Now option at the bottom of the screen. Select that and press Enter
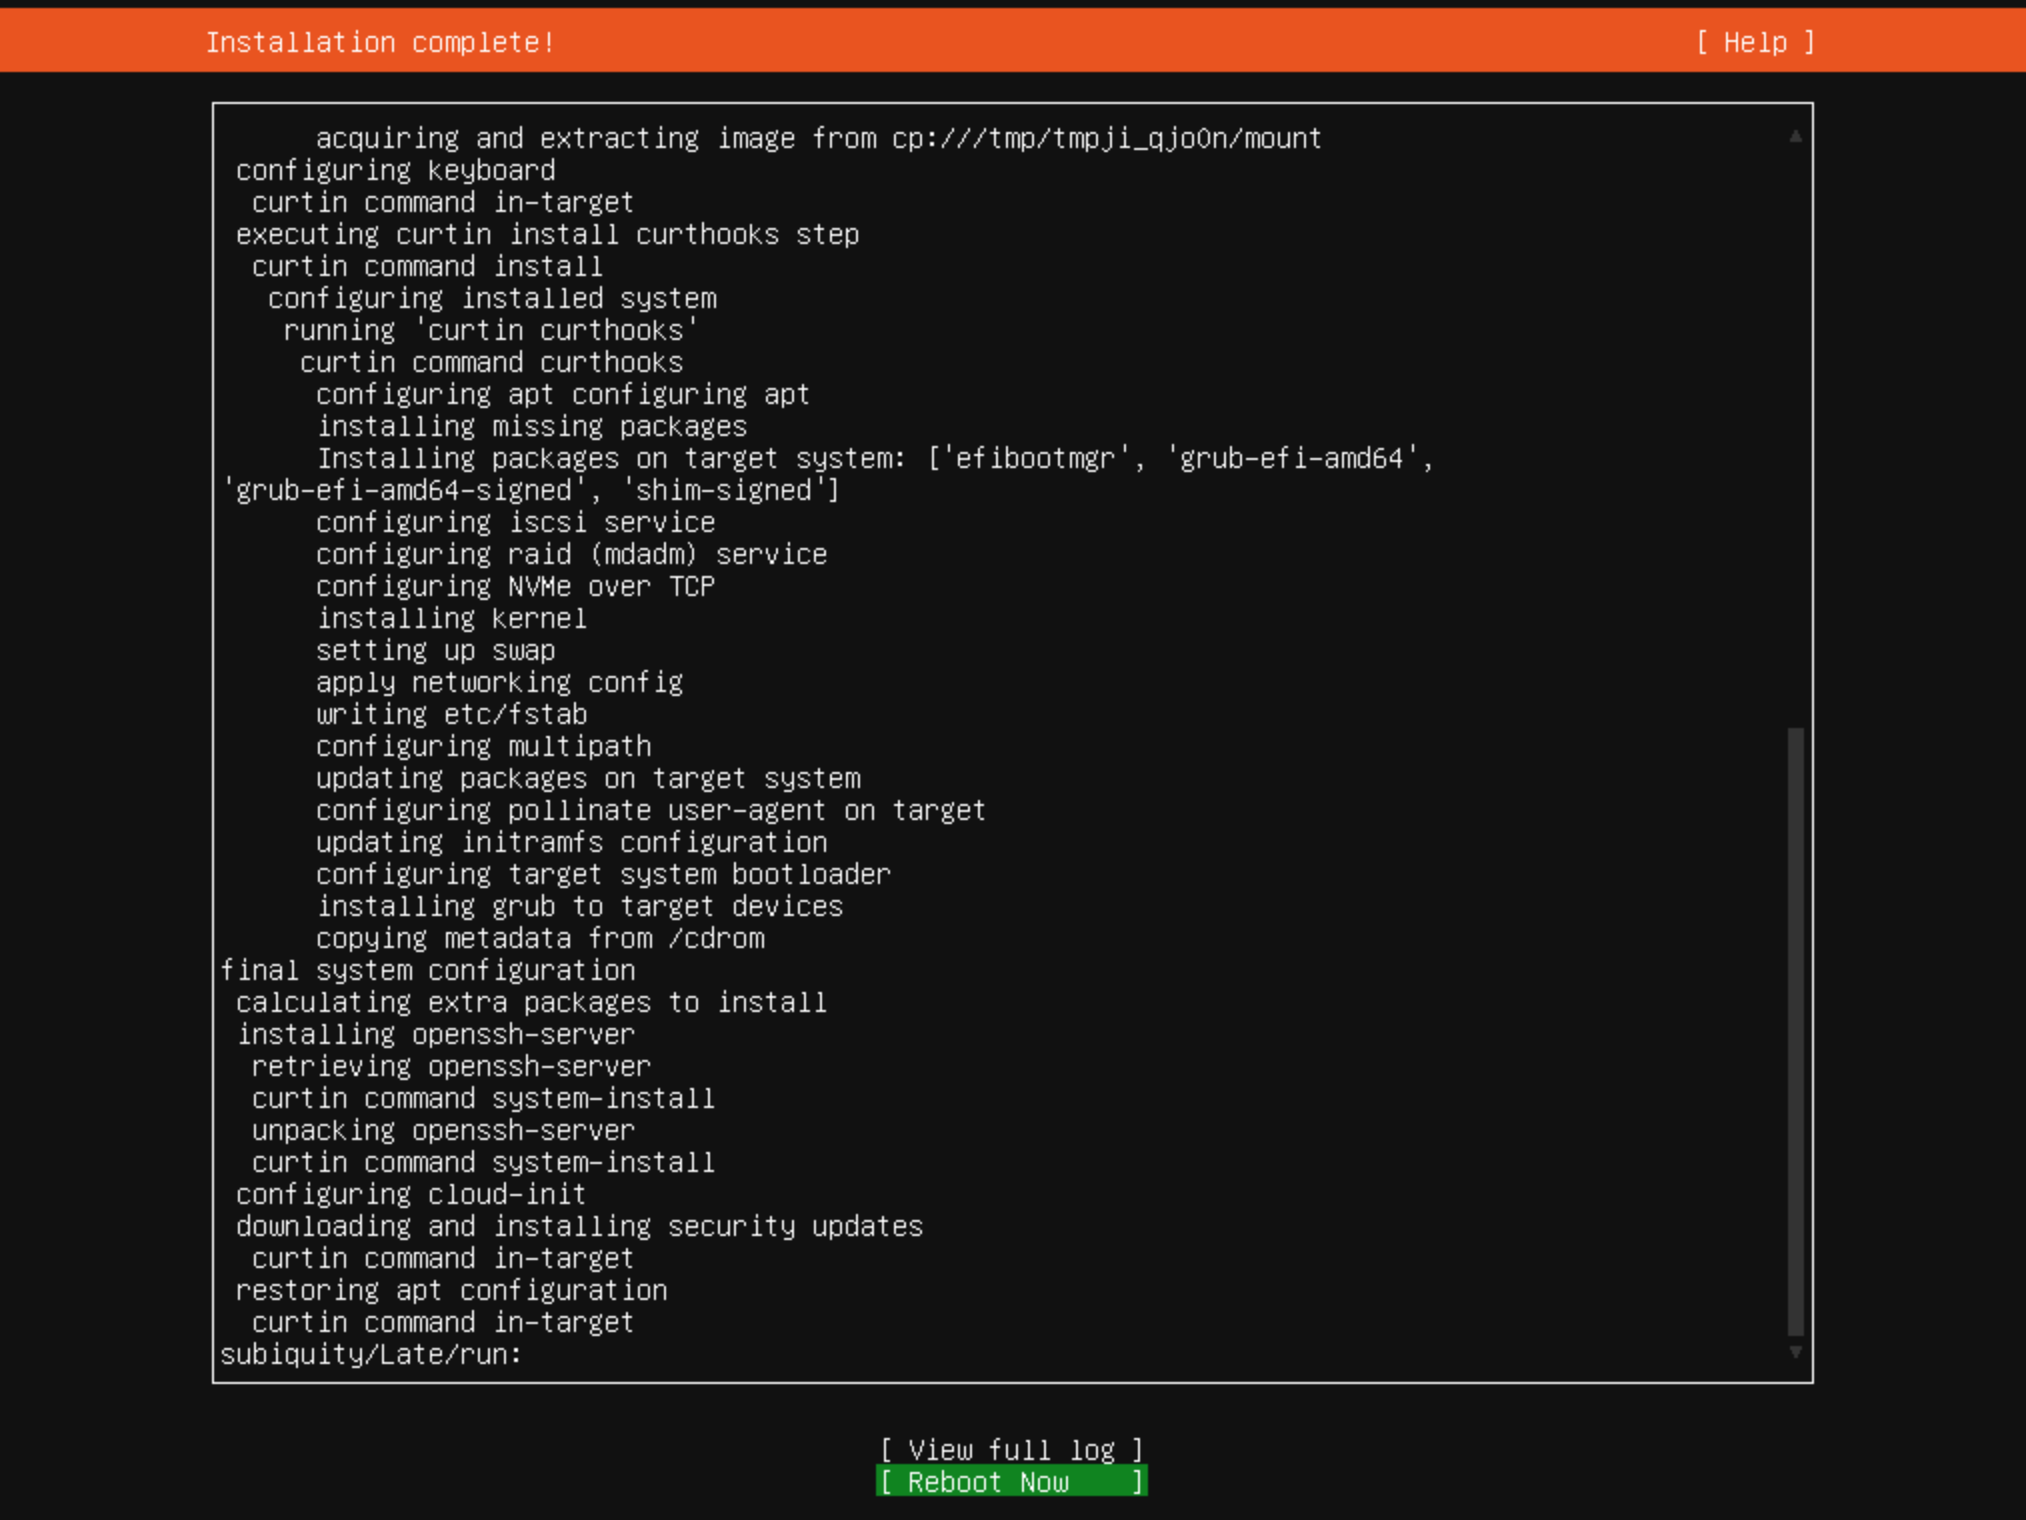
- If you receive an error about the installation medium just press Enter

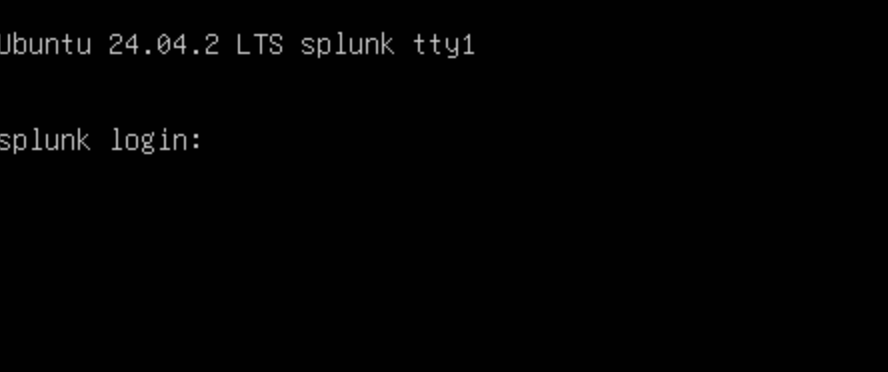
- Assuming everything went well you should see a screen like this after your VM finishes rebooting:
- We’ll want features like copy and paste to work so instead of proceeding on the web terminal we’ll use SSH to connect to our server. Open the Command Prompt on Windows or Terminal on Mac and use this command to connect to your server:
ssh username@ip-address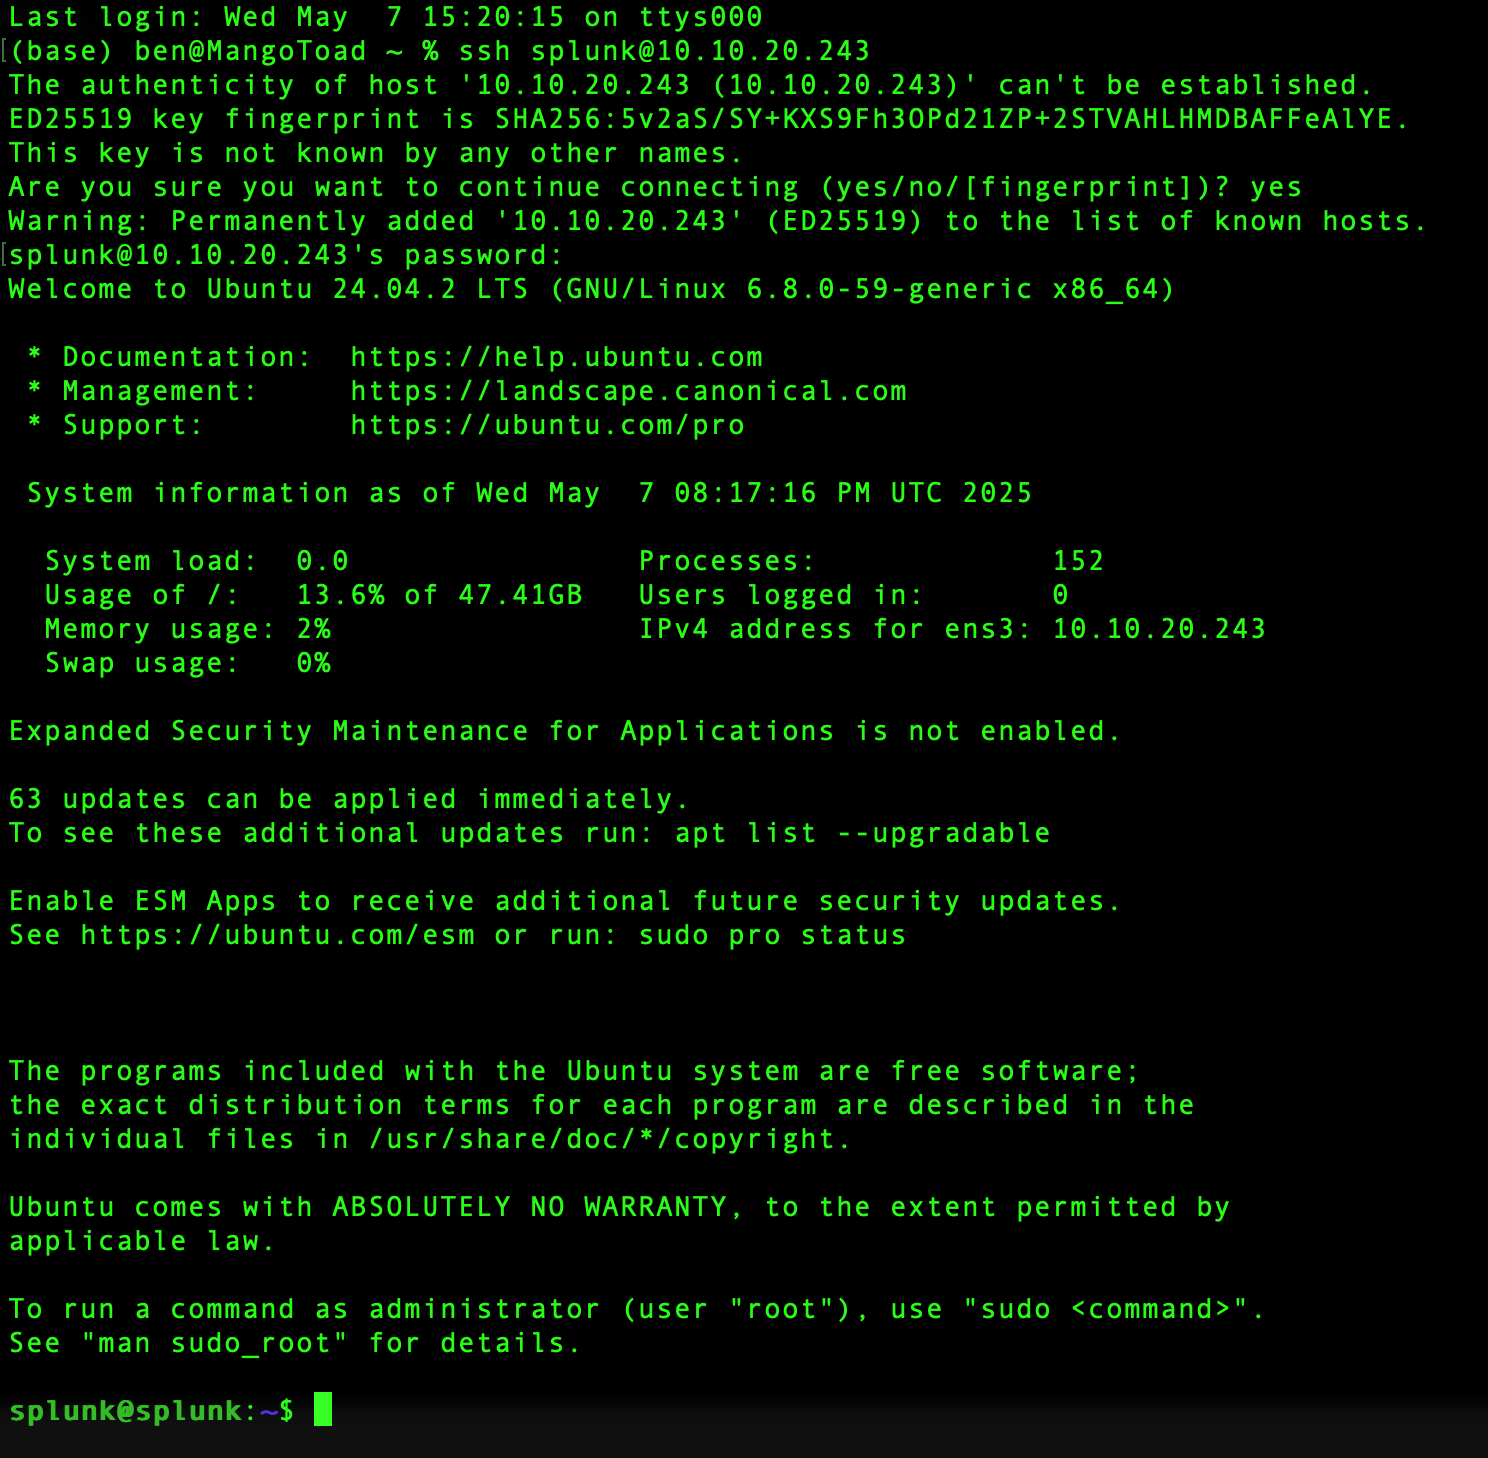
- As you can see from the welcome message there are a number of updates available so let’s apply those before going any further. Run these commands to apply all available updates to your server:
sudo apt update sudo apt upgrade -y - Great! With those updates installed we’re ready to move on to installing Splunk
Step 3: Installing Splunk
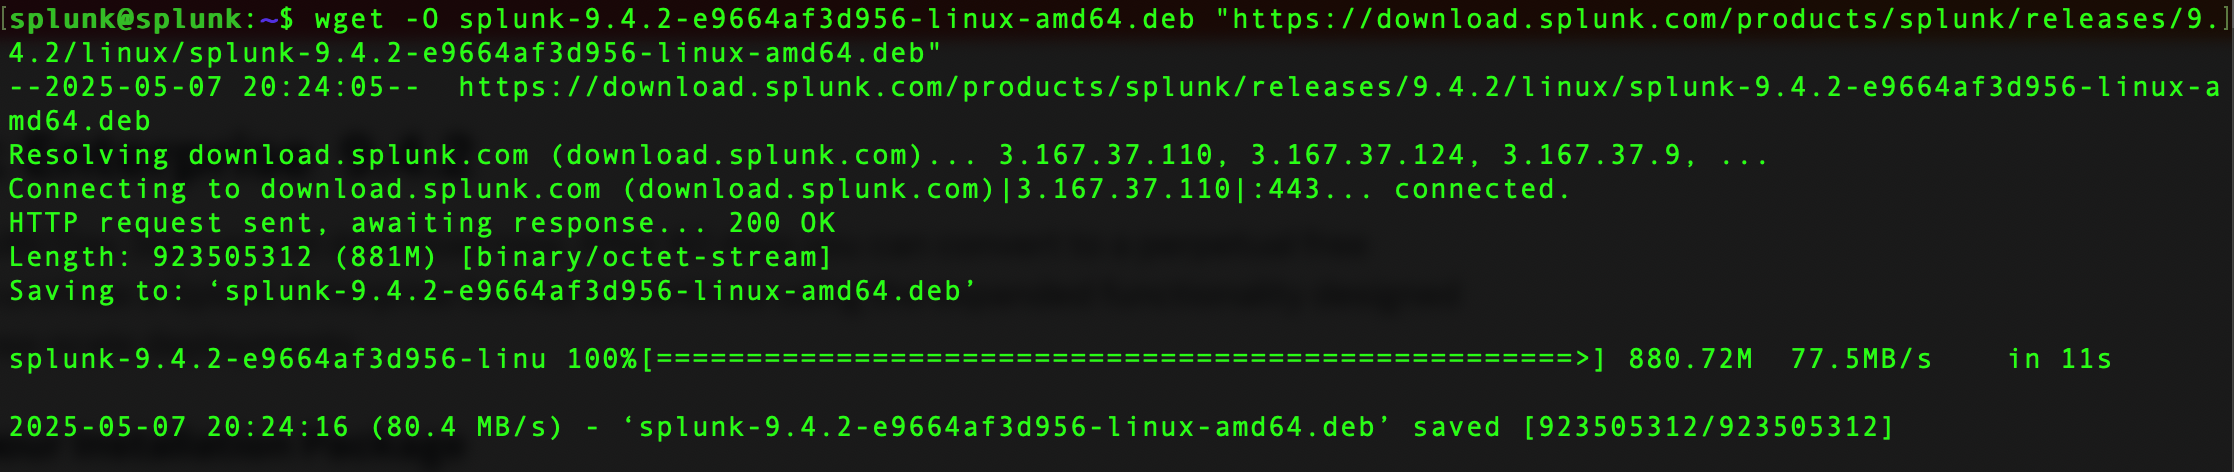
- First, we’ll need to get a copy of the Splunk Enterprise installer. Luckily, Splunk offers a free download of the installer to anyone who creates an account here
- Once you’ve made it to the download page, select Linux and then click Copy wget link on the .deb line (.deb is like the Ubuntu equivalent of .exe on Windows)

- Switch back to your SSH connection to your server and paste the wget link into the terminal. This will download the Splunk installer directly to your server
- Now that we have the installer downloaded we just need to run it! You can use the command below to run the installer:
sudo dpkg -i splunk-... (Press tab to auto-fill the full name)
- Once the installer is complete we’ll want to enable Splunk to run at startup and acknowledge the EULA. We can accomplish both of those items with this command:
sudo /opt/splunk/bin/splunk enable boot-start - After you run the command you’ll be presented with the EULA. Accept that agreement and then proceed to create an account

- Now Splunk will automatically start whenever you boot your server and you can also manually start it with the command below that we’ll run now
sudo systemctl start splunk - Splunk may take a few minutes to start, but once it does you can access it at
http://your-server-ip:8000
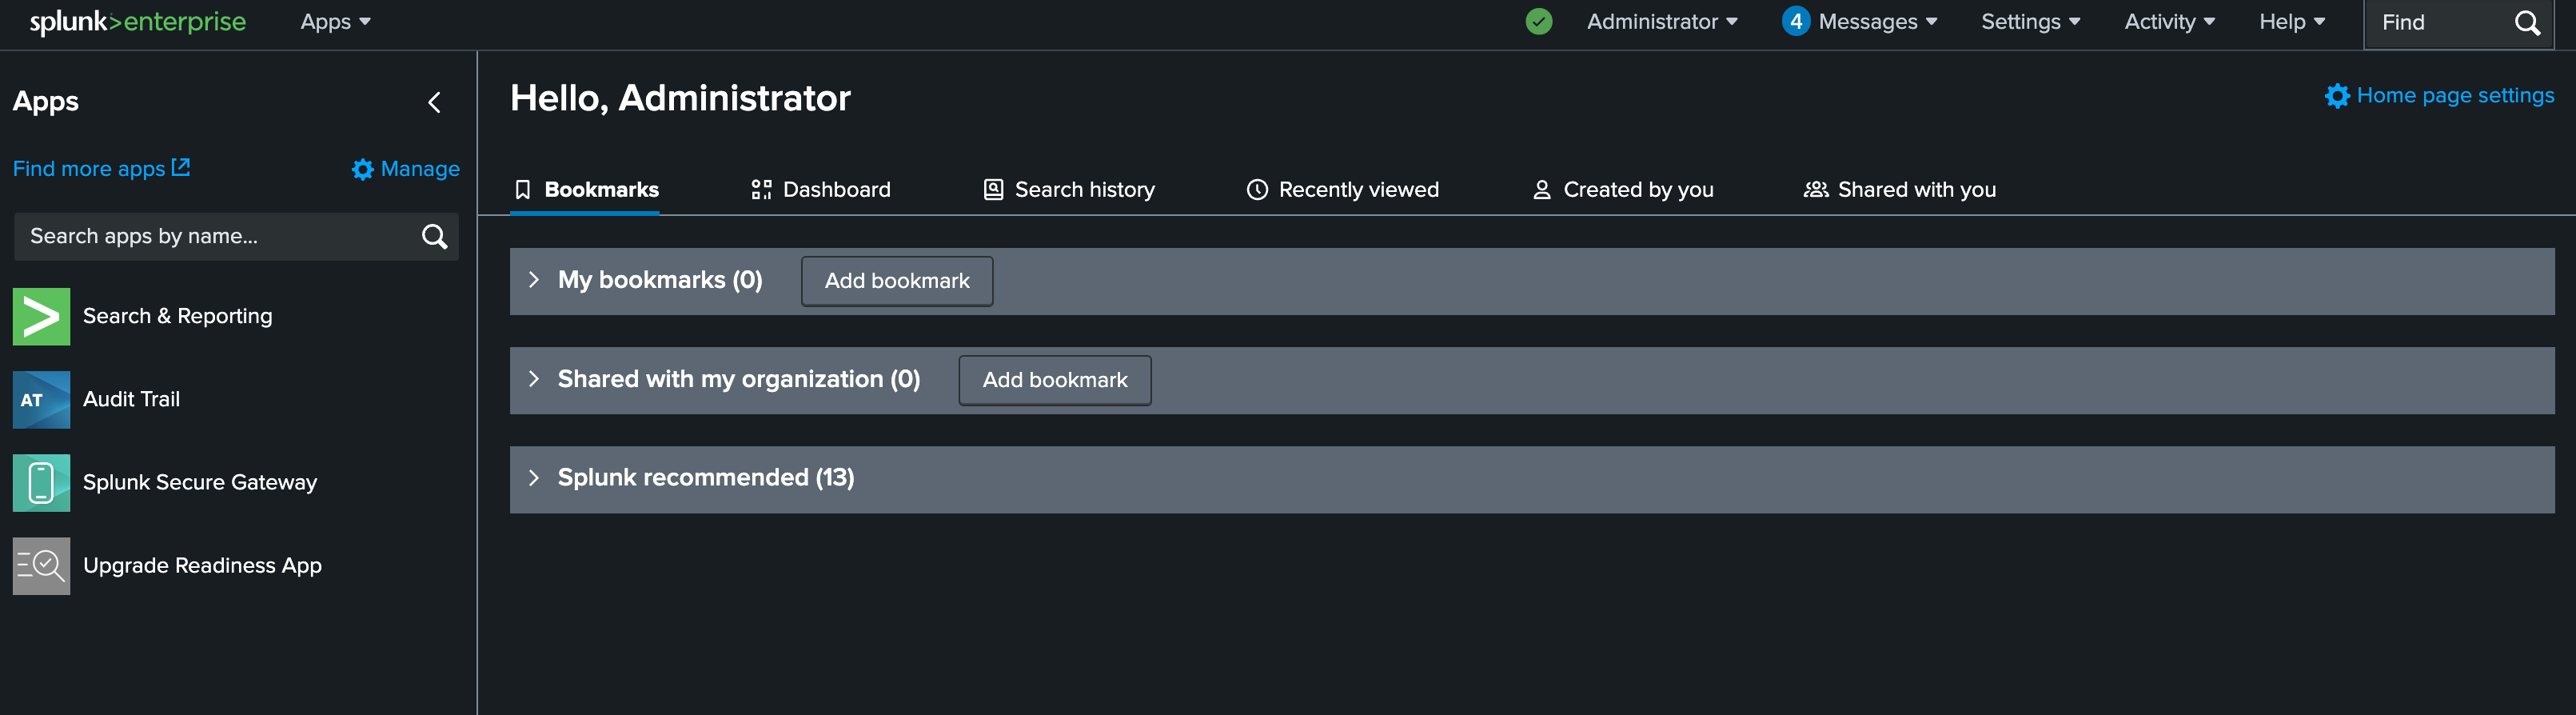
- Login with the username and password you created and you should see the Splunk homepage
Bonus Tip: Splunk Developer License
By default, Splunk gives you a trial enterprise license for 60 days and then you can convert to a free license that has a limited feature set and only allows you to ingest 500MB/day of data. Luckily Splunk also offers a developer license that many people don’t know about! You can apply for a developer license here and if you’re approved you’ll receive a license that supports most of the same features as the enterprise license and allows up to 10GB/day of data ingestion. These licenses can’t be used for production use, but they’re perfect for your homelab!
What’s Next
In this post we got Splunk set up, but there are still a lot of pieces missing. We’re still using HTTP instead of HTTPS, we’re on port 8000, and we’re typing in an IP address to connect instead of a nice DNS name. We also haven’t added any data to Splunk yet or performed any searches! That’s why this is just part one of this series of posts. In future posts we’ll cover enabling SSL, ingesting data through syslog, Splunk apps, and the Splunk HTTP Event Collector (HEC) from multiple sources including Unifi network devices, Microsoft, and Salesforce. Stay tuned for those posts over the next few weeks!